
Birthday Party Fun
/Today we celebrated my daughters birthday. She wanted to have some friends over for tea and to have fun and play some games.
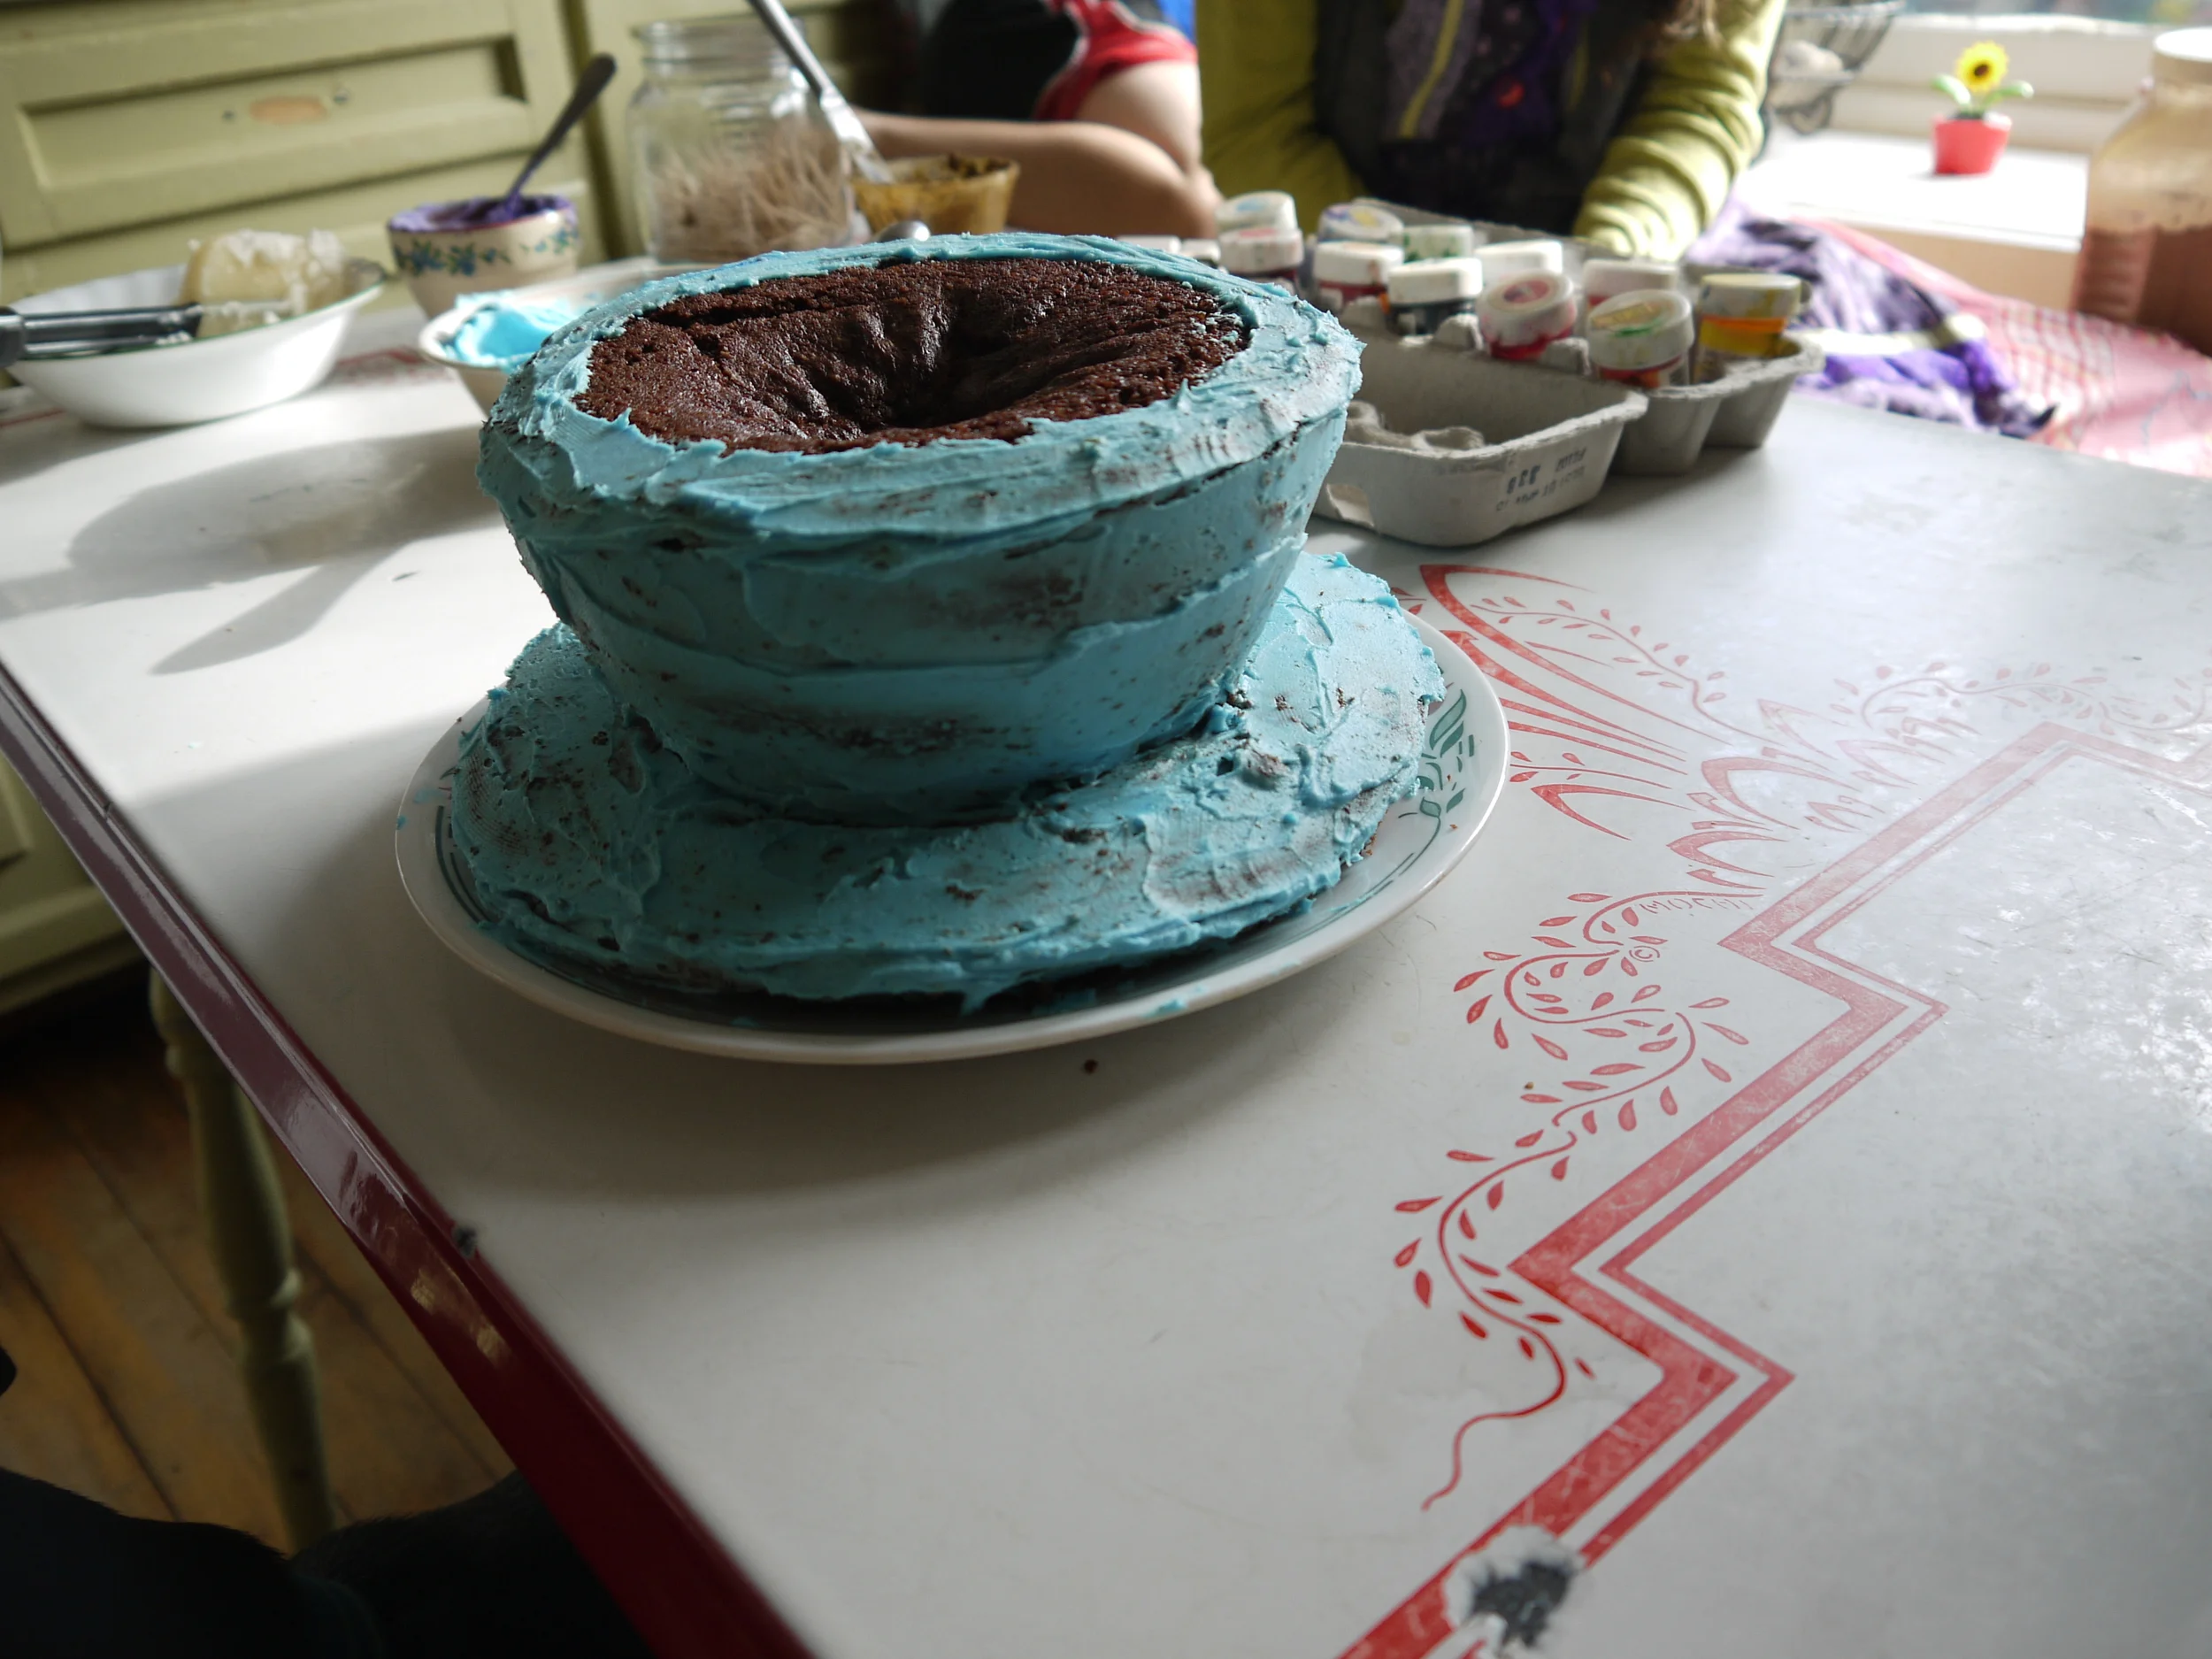
We made a tea cup shaped cake for her. I started by baking a chocolate cake (it was actually a recipe and a half) in a pie plate and in a stainless steel bowl which were well greased and floured. This is what it looked like just as I was beginning to frost the two pieces.
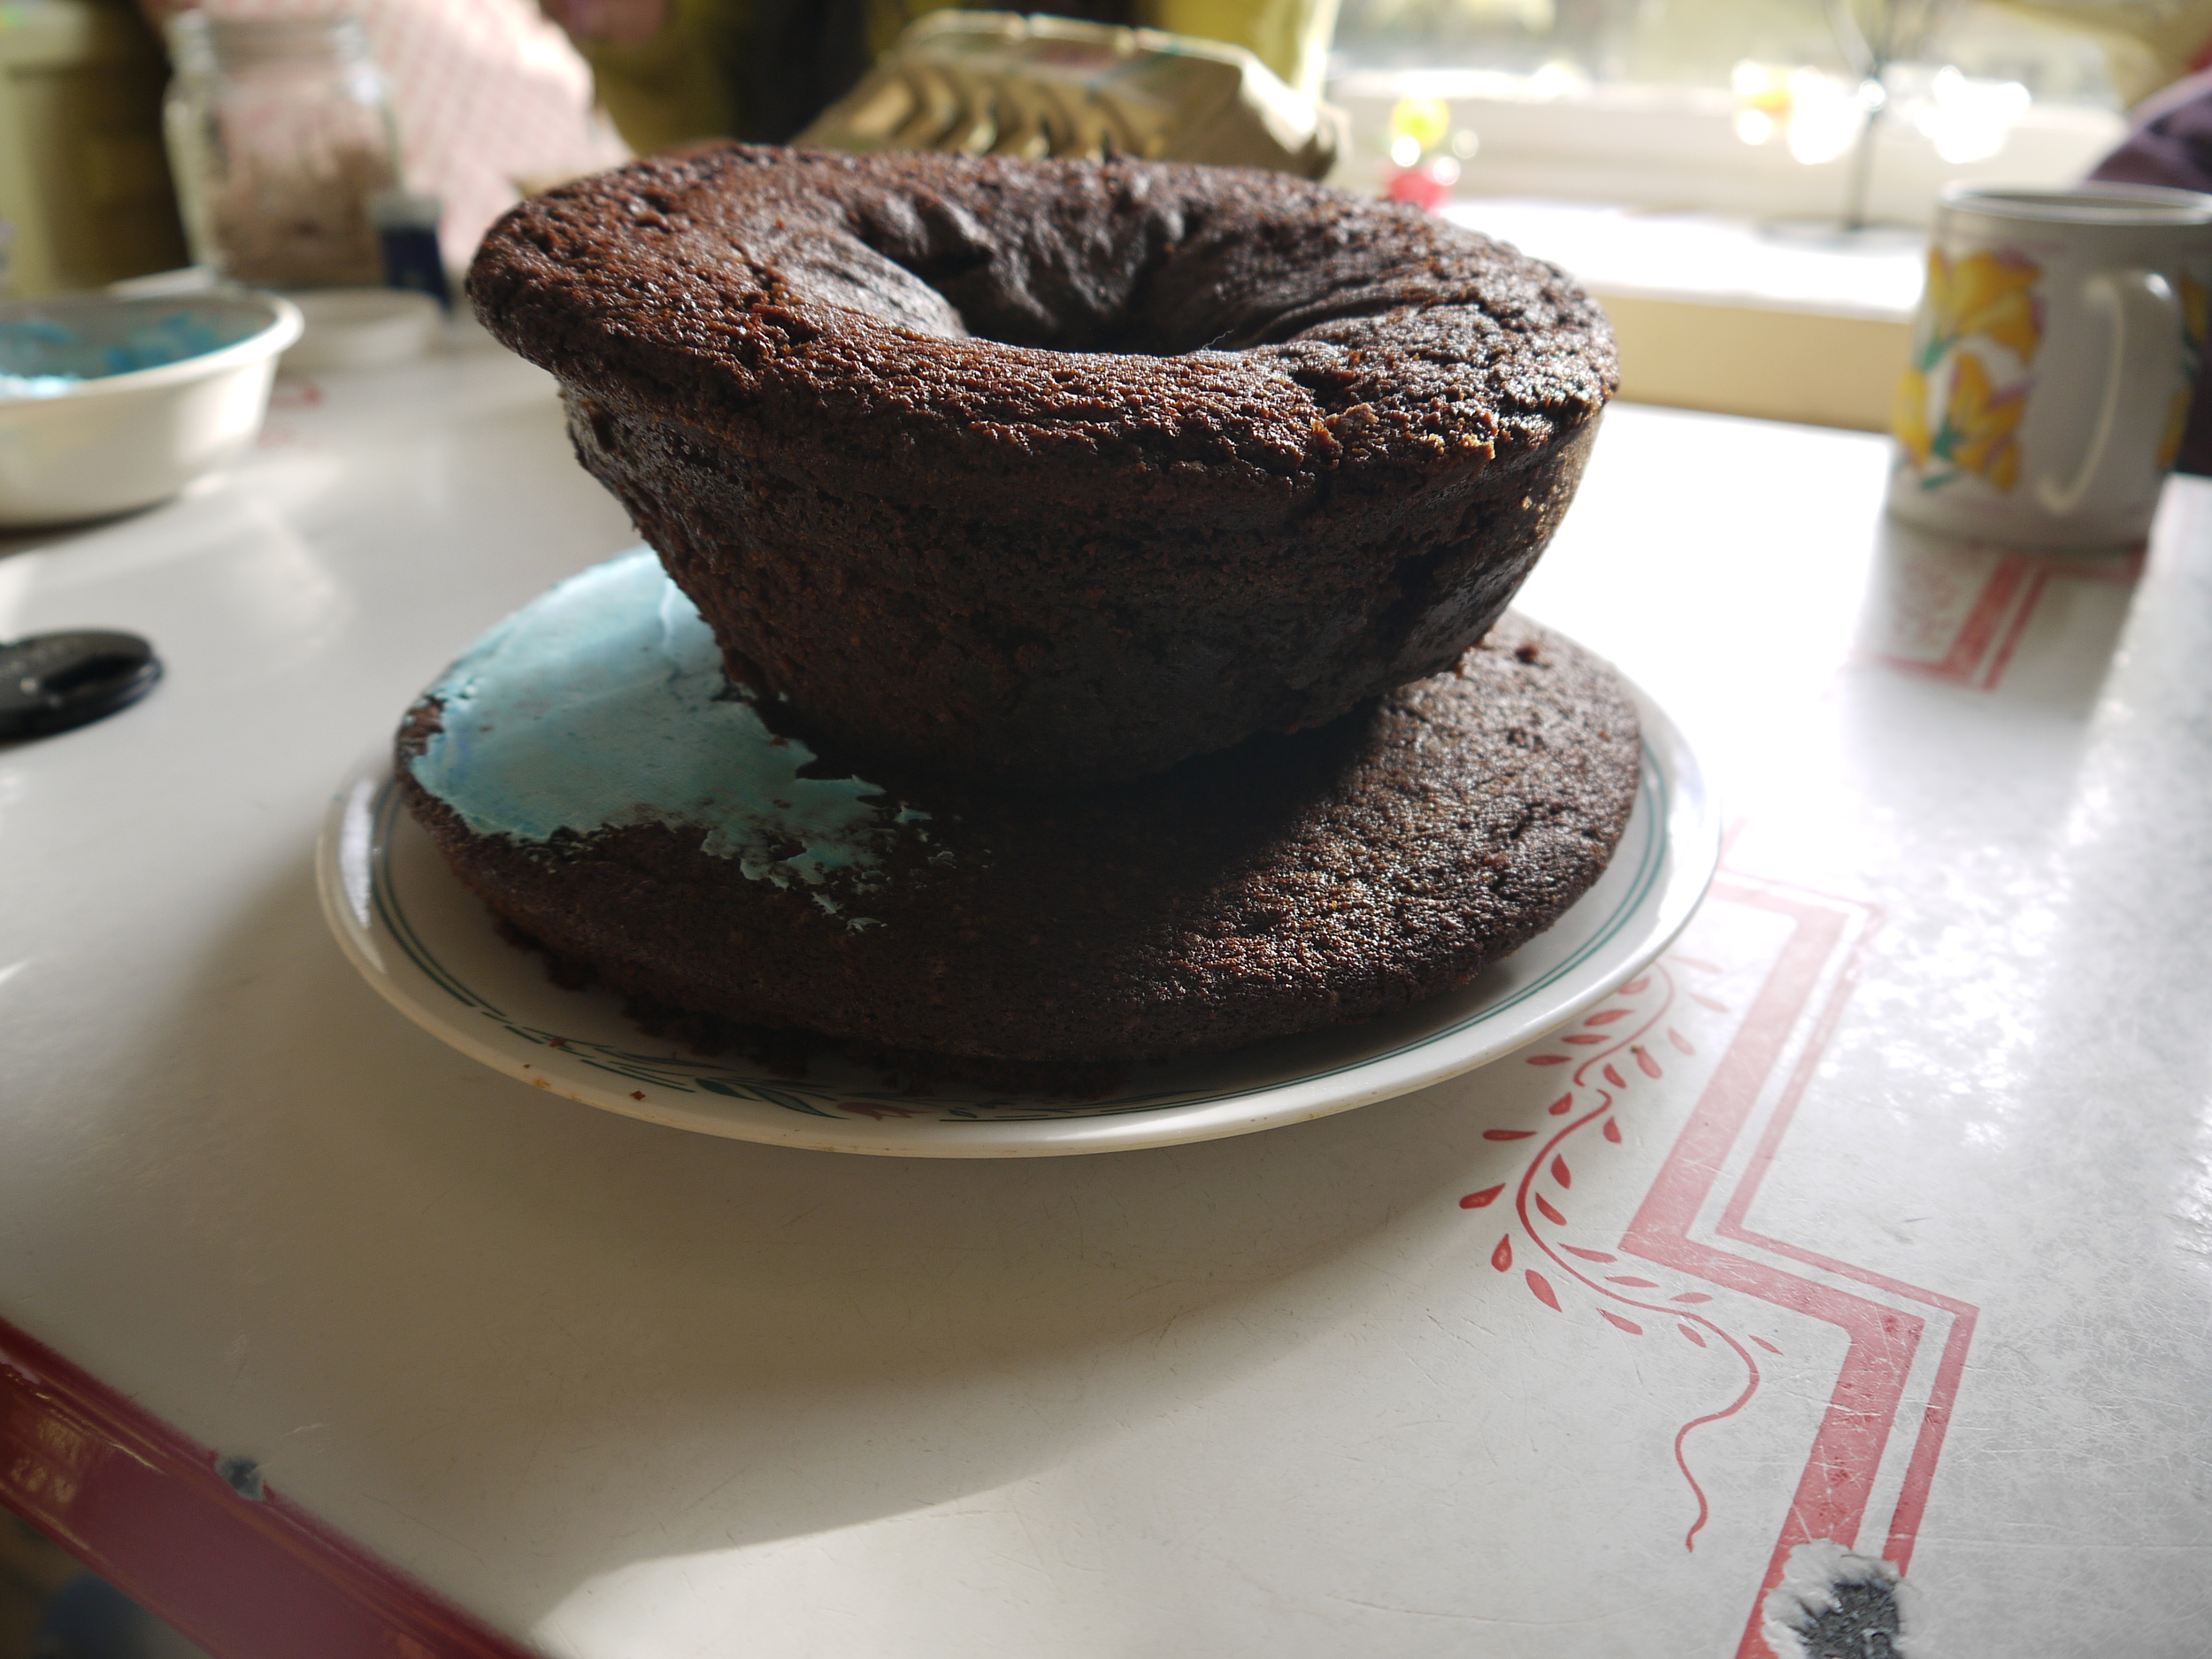
If you've never done a shaped cake before, it's very simple, it's more about the illusion than for the cake to look exactly like the item. I know my cake has a hollow in the center in the top where the cake settled a bit, but we have a plan for that.
You'll need to put on at least two coats of frosting. The first coat is a crumb coat and seals in any crumbs so don't worry if it doesn't look great after the first coat. After you put on the second coat, you need to let the cake sit awhile so the frosting firms up so you can smooth it out. Here's the cake after the first coat of frosting. (If you usually use canned frosting, I do not know if that will firm up like it should to smooth it out. I use homemade frosting for this.)
After you get the second coat on, take a piece of wax paper gently rub the frosting with your finger through the wax paper to smooth the frosting. If the frosting sticks to the wax paper, you have not let the cake sit long enough. Smooth the frosting out to as smooth a texture as you desire.
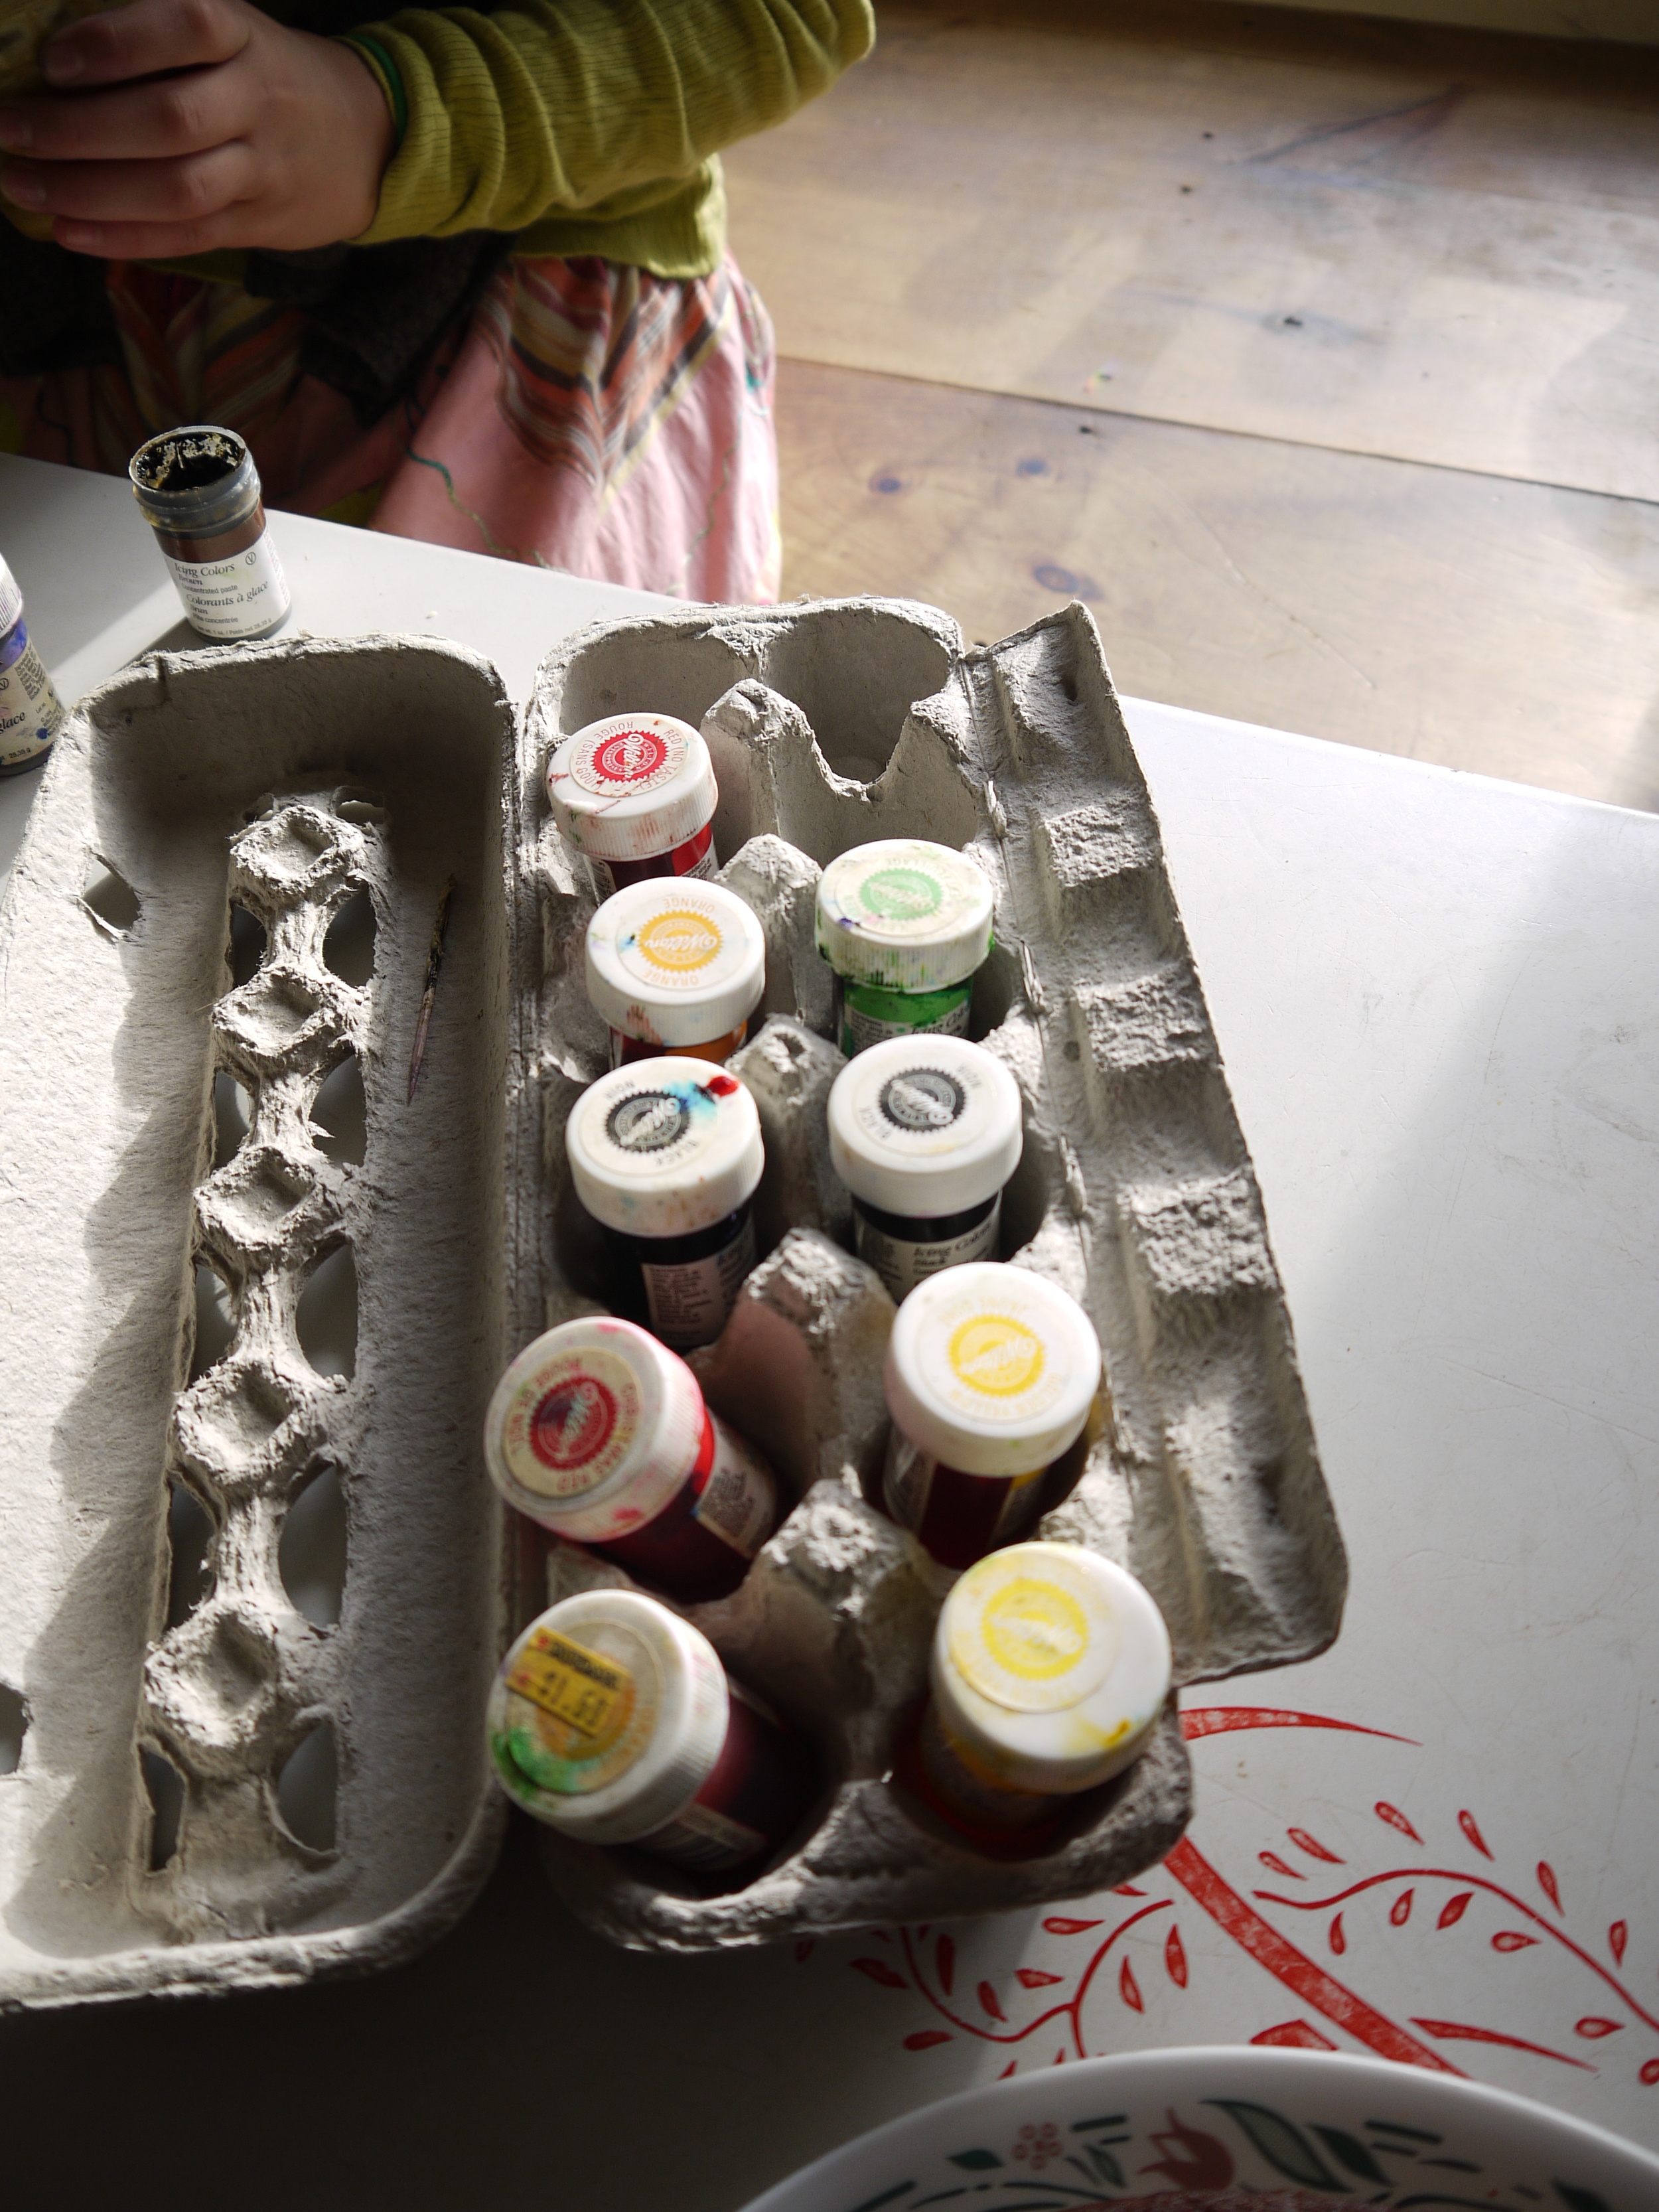
For my frosting, I use paste food colorings, they give great color and last forever. It is very convenient to store them in an egg carton.
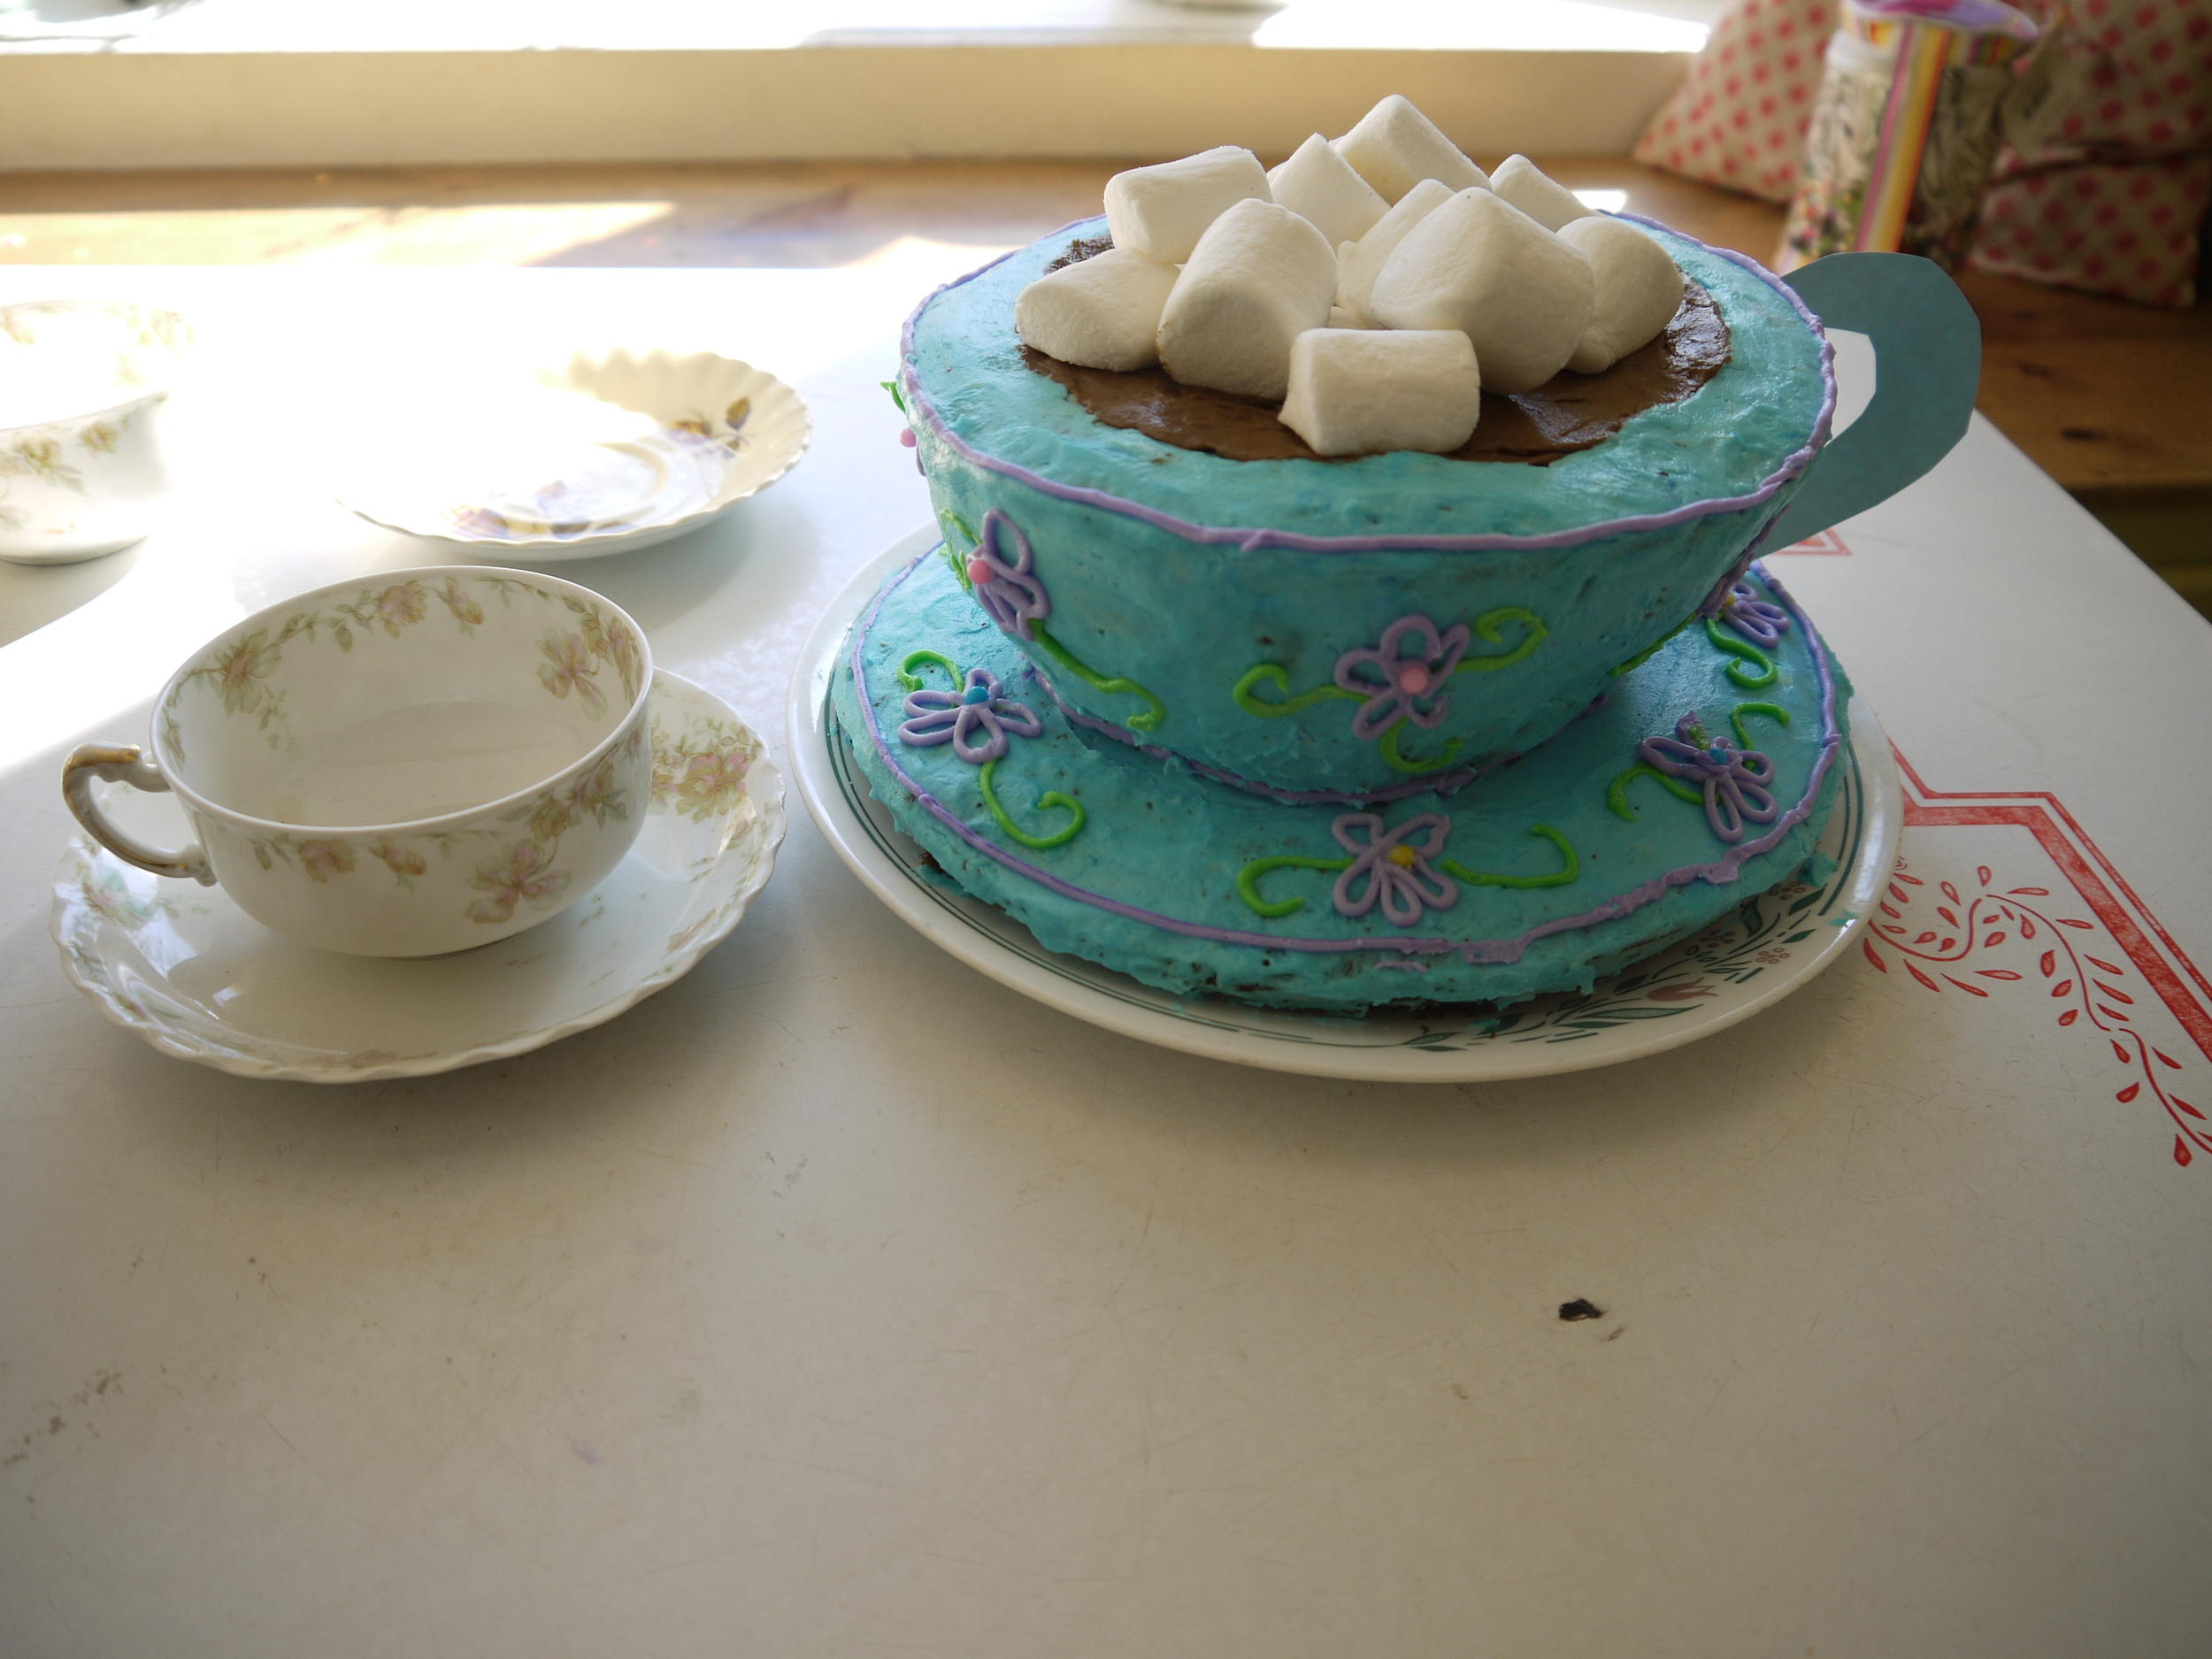
Here's the finished cake. My daughter had asked me if we could make it look like it had hot chocolate in it so I figured the marshmallows was a perfect solution to the hollow in the center. I made the handle out of card stock. It actually could have used another coat of frosting to cover some areas a bit more but I figured the flowers would hide or at least distract from that.
Then it was time for some dress up fun. My girls had hauled down a mountain of their dress up stuff. The girls had a blast, they were all so cute.


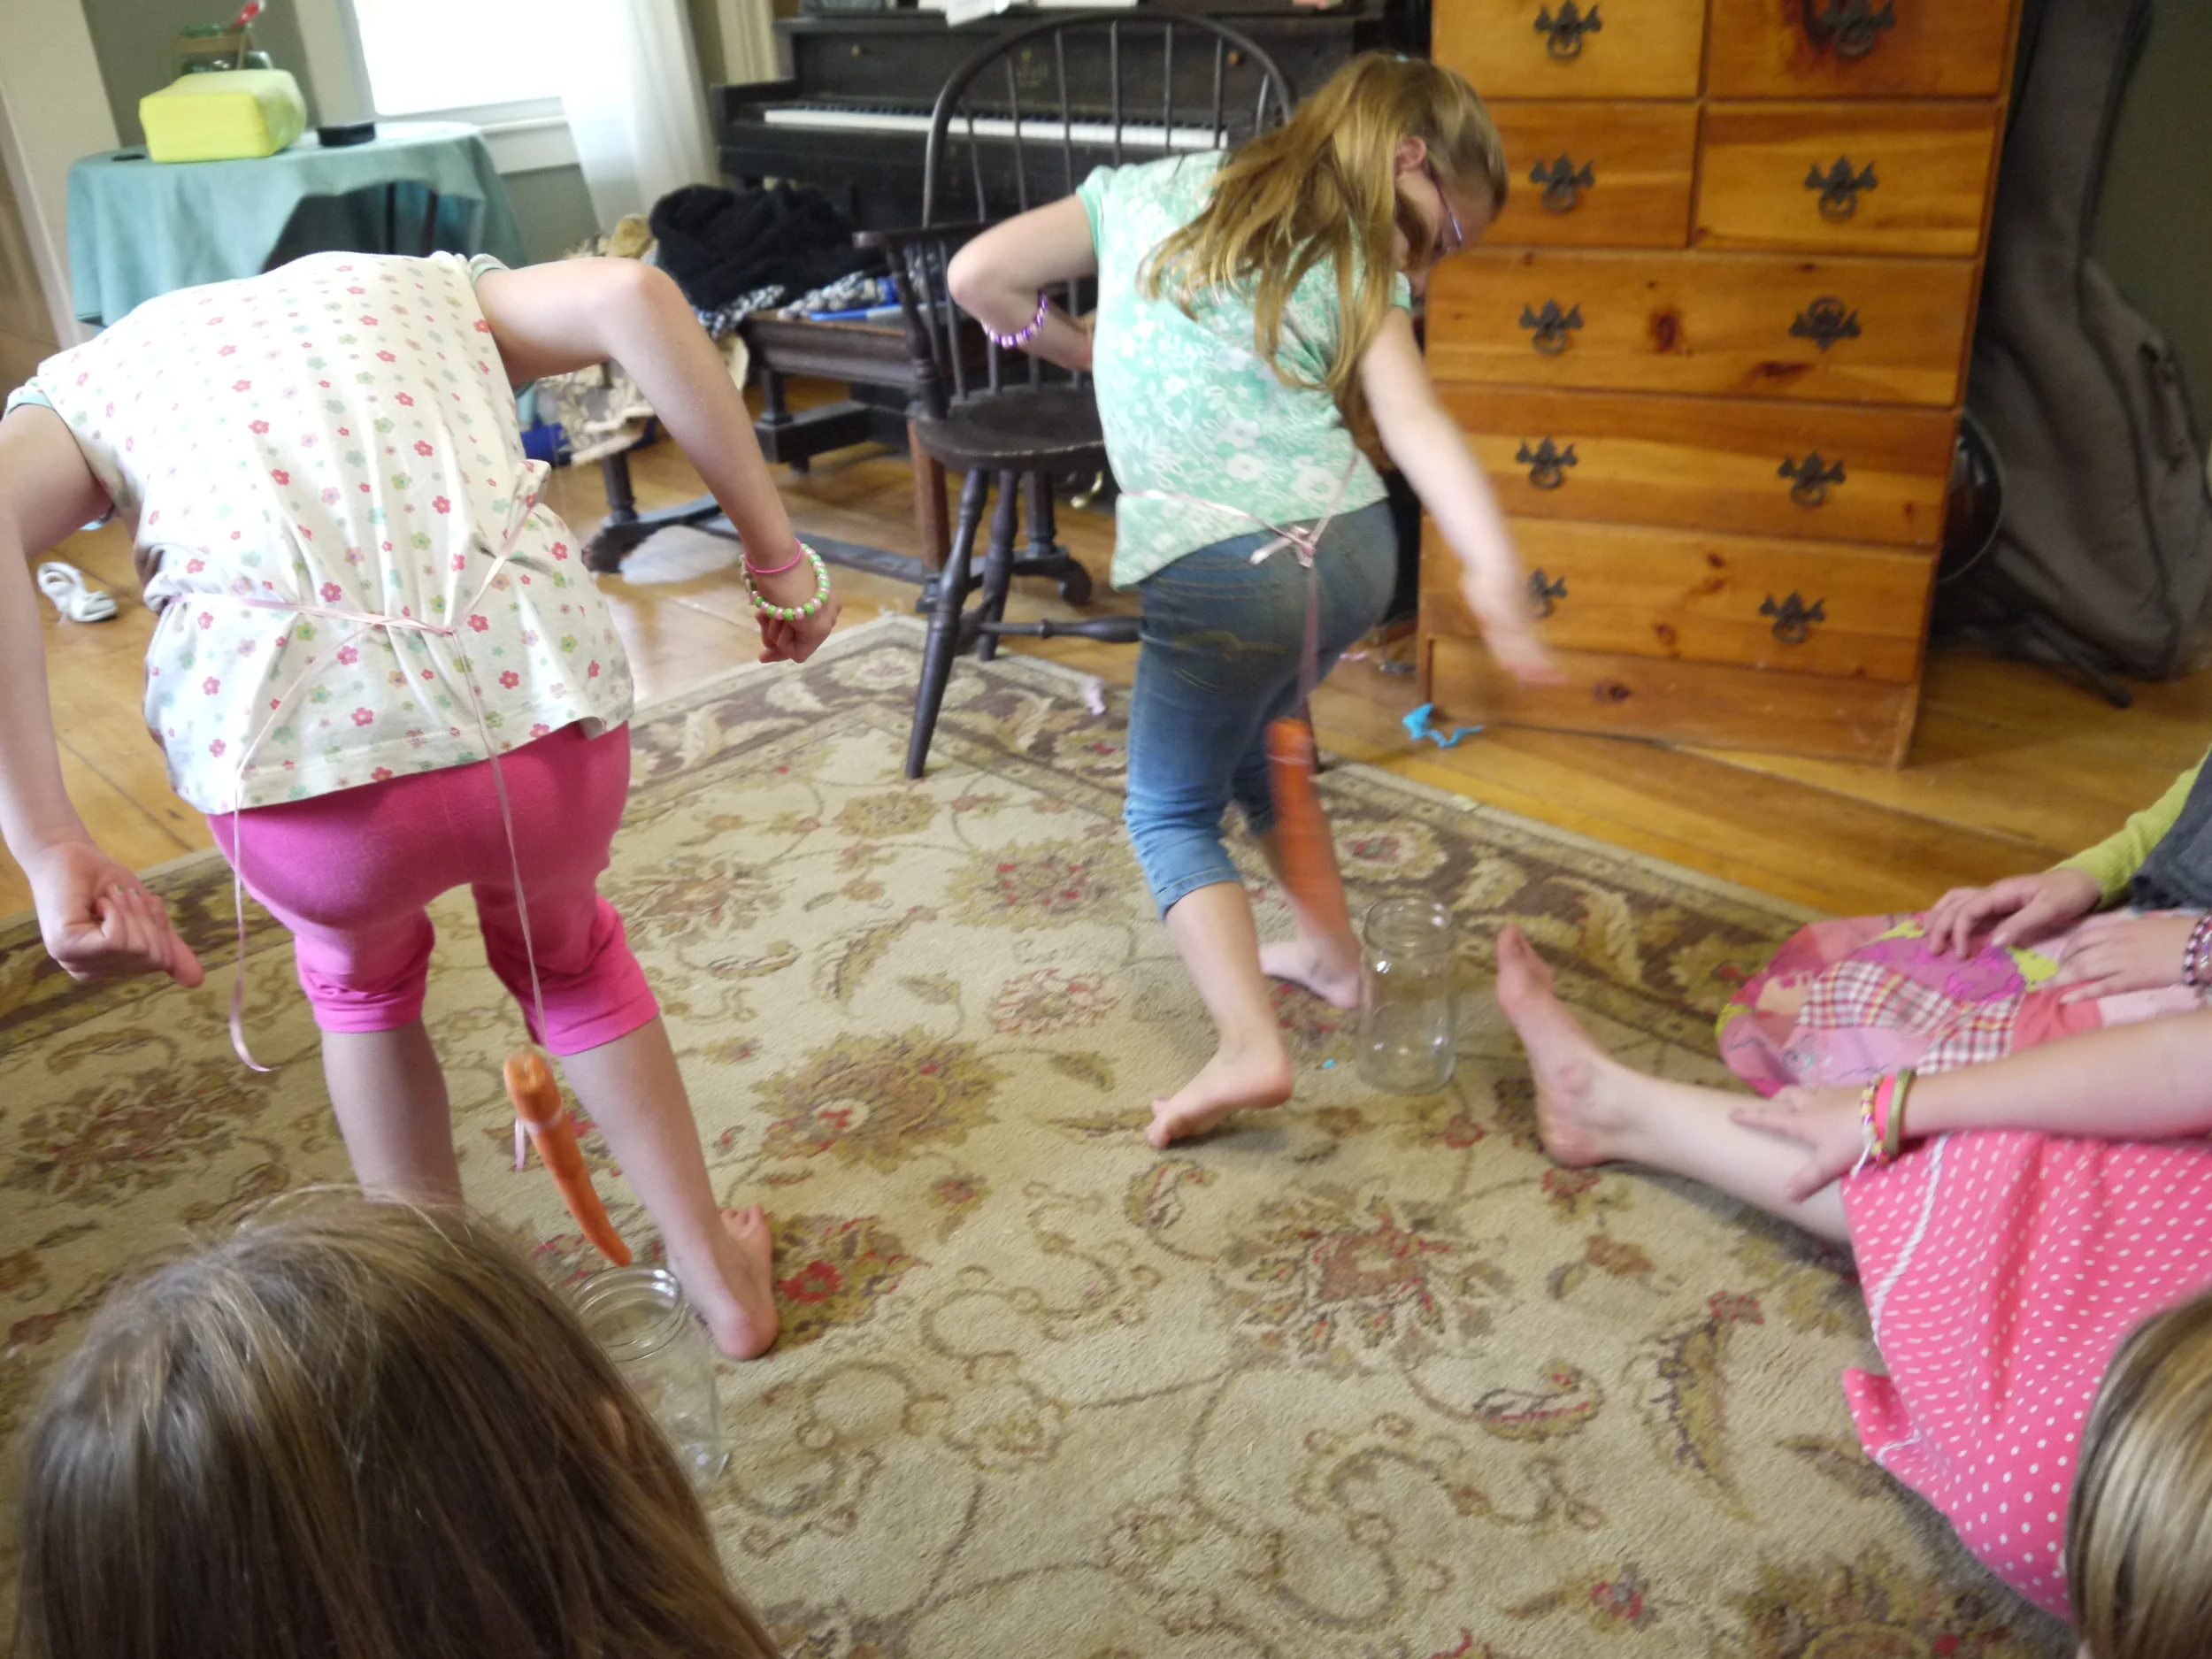
Then it was time for some games. Now what you are about to see is quite possibly the most ridiculous game known to man and there is not anyone who plays it who can escape looking stupid...so just get over it and have fun.
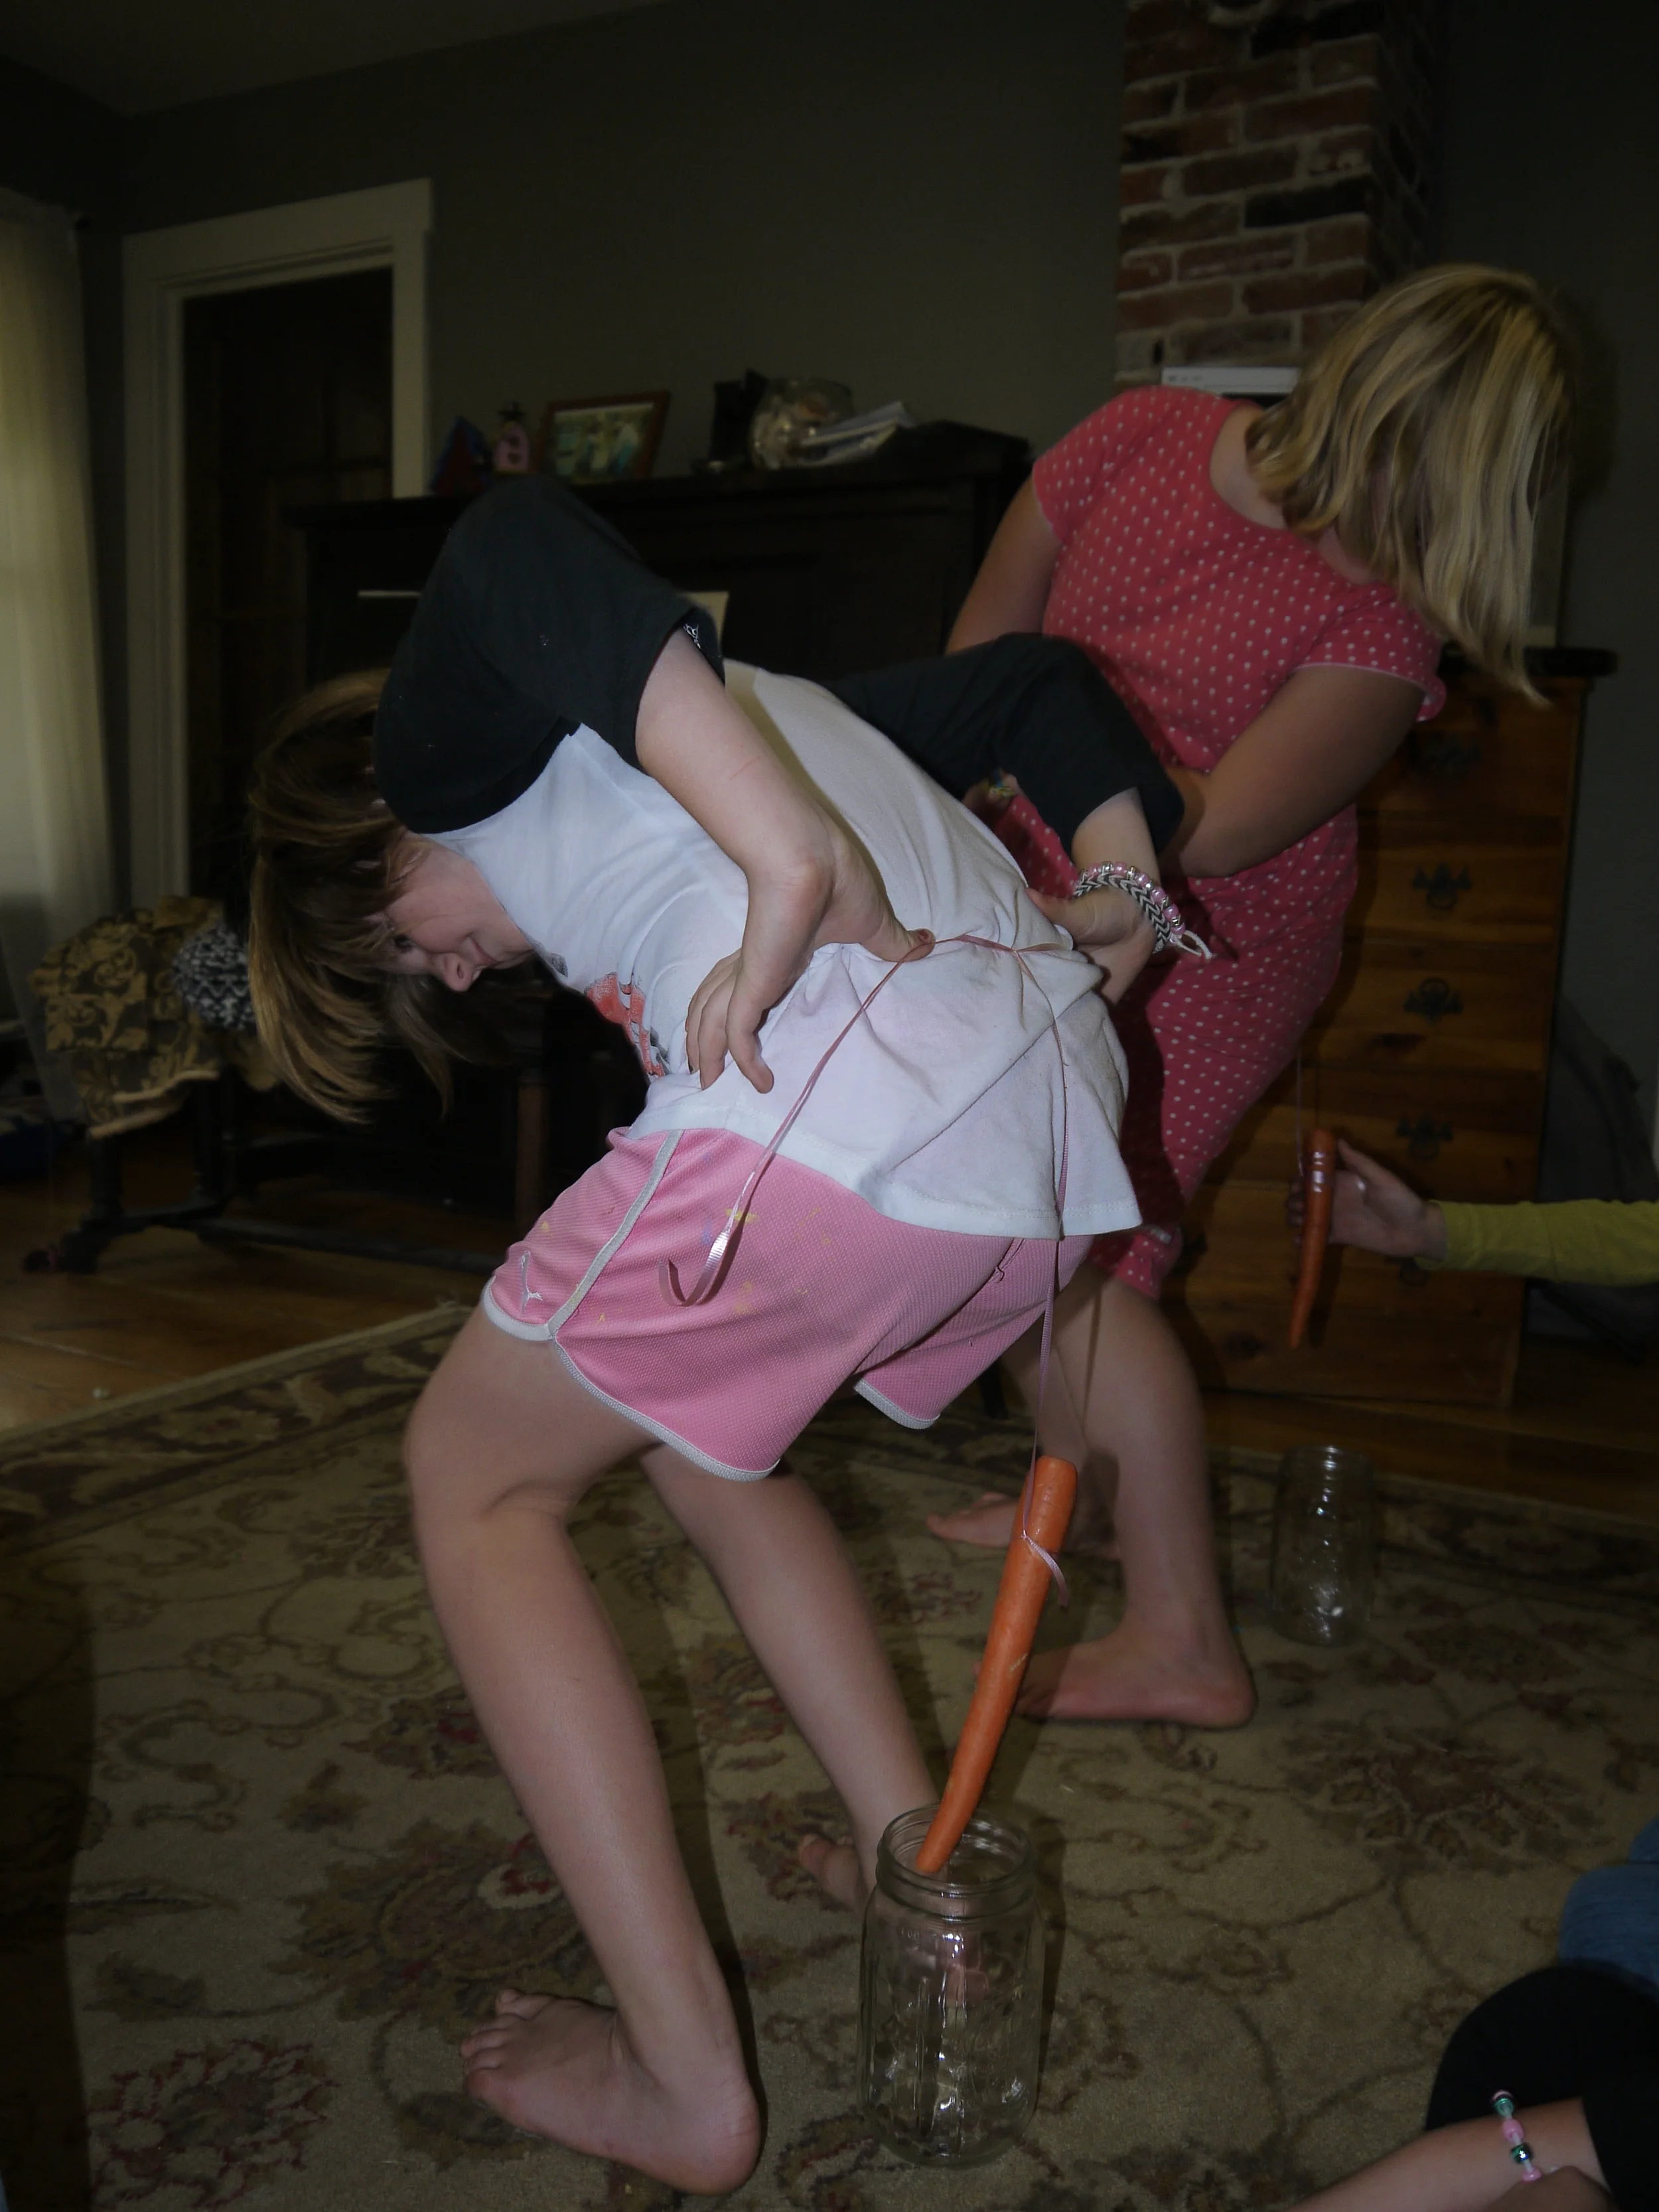
This is a game my mother use to have us play at my birthday parties when I was a child, and we loved it. I have used this game with both children and adults and I have used at a townwide harvest event and it was well received. So if you are looking for something new and silly, give this a try. First, you tie some curling ribbon or twine around the victims, I mean the participants, waist. Then you tie a piece hanging down in the back kind of like a tail. At the end of the piece of twine, tie on a carrot. Have each player squat over a jar, I used wide mouth canning jars but smaller mouth jars are more challenging. Each player must squat down and try to be the first to get their carrot in the jar....pure silliness, guaranteed laughs. If you want to add more challenge to this: give the carrot a good swing just as you say "go". The higher up you tie the carrot, the more challenging, but don't tie it up so high that they can't see it if they look through their legs or twist to the side. Like I said, you can't escape looking silly playing this game.
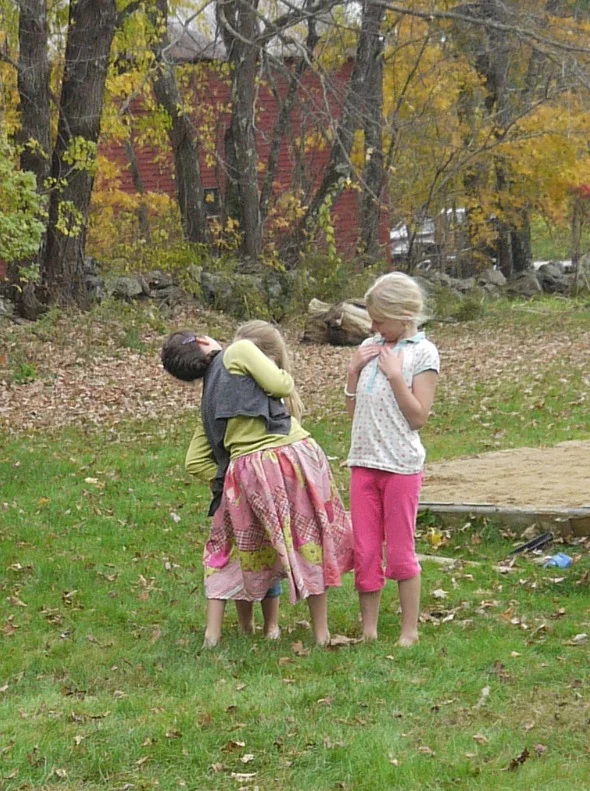
Then a game outside...the kids played an apple relay race where they had to carry an apple under their chins and when they passed the apple, they could not use their hands.

My daughter and her friends had a wonderful time on this perfect fall day. Thank you Lord for good friends and good times.