Make Your Own Carpet Stair Treads
/A few years ago we purchased a fixer upper (and that's putting it nicely). It actually was completely not habitable. Although most of it is finished, there are still a couple projects I've been wanting to get around to. One of them was to put a runner carpet down the front stairs. I priced the runner carpets and at minimum it was going to run us a few hundred dollars. If we wanted anything other than the basic run of the mill variety it was going to cost even more money.
Not being willing to spend that much, I put my thinking cap on. My daughter and I took a trip to our local salvage store, Mardens. They have upholstery fabric for unbelievable prices. I figured there has got to be a way to use that to make my own DIY stair carpet treads. So in taking a walk around the store, I found these:
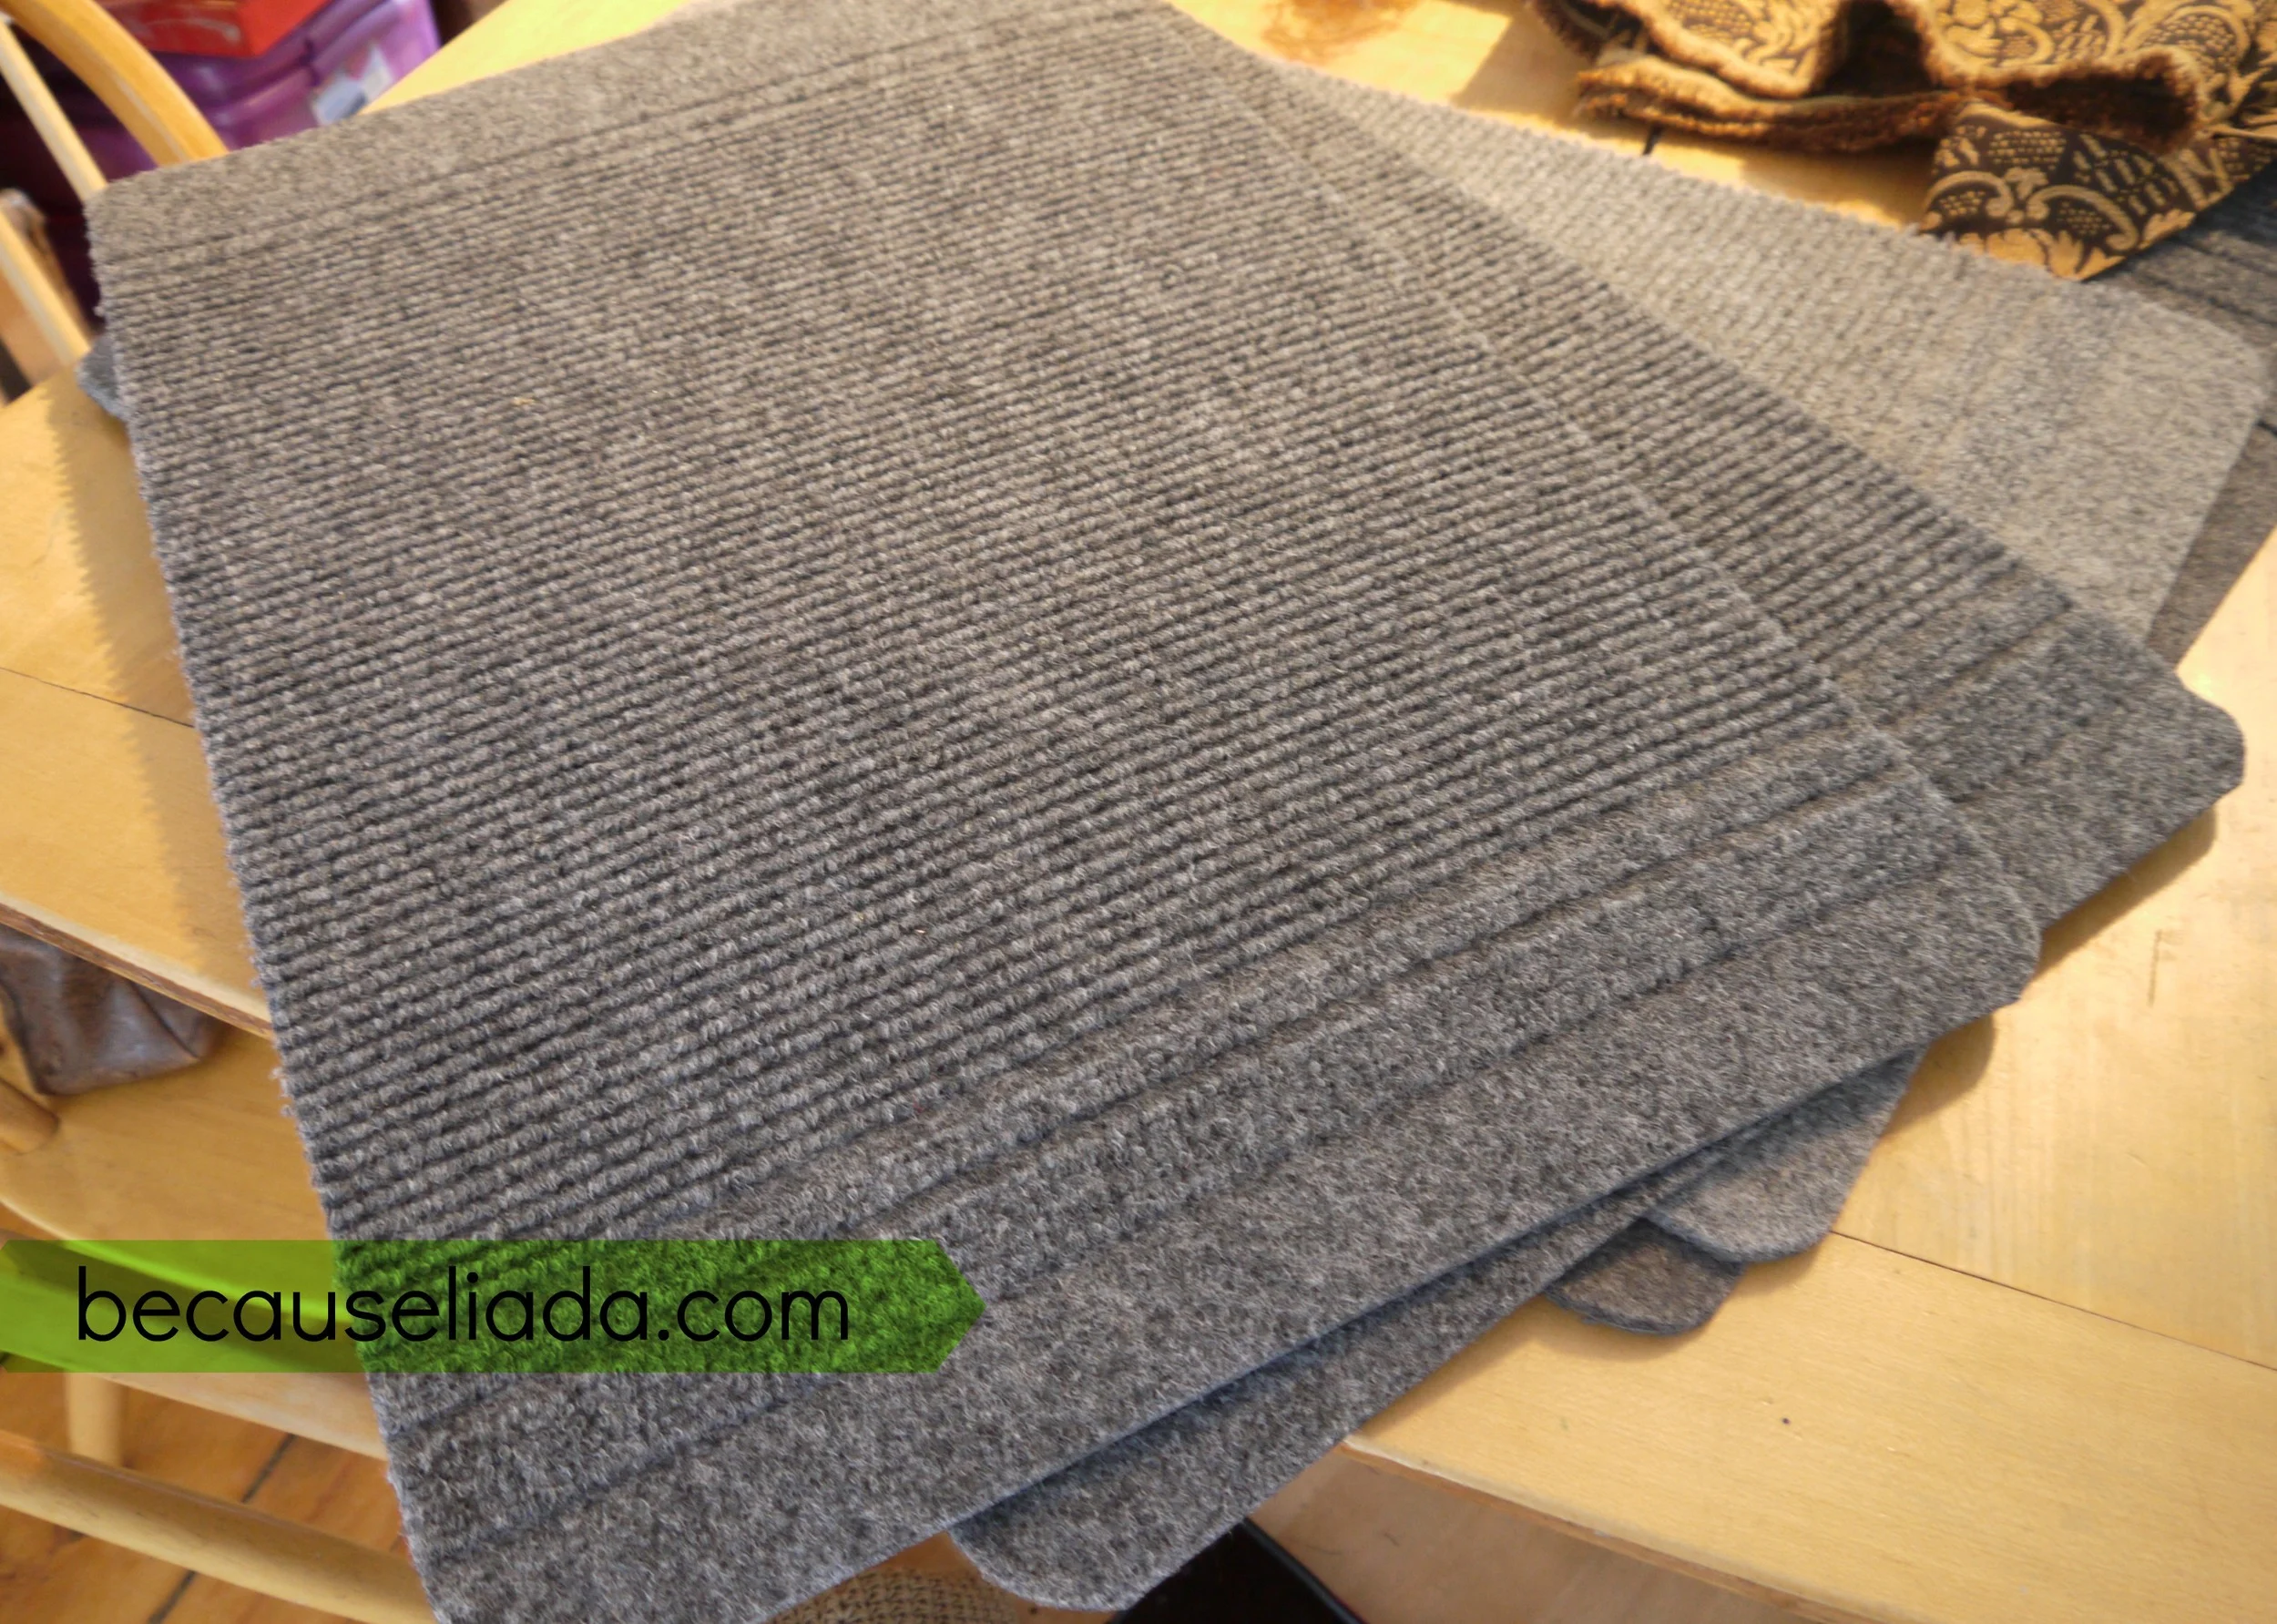
These little rugs were selling for $1.00 each. I measured them and they were the perfect length, but they were too wide. Each little rug cut in half the long way however would give me two perfect sized pieces to make my own Carpet Tread Rugs. I then headed to the fabric department to see if they had a fabric I would like. I found this lovely fabric for $4.99 per yard. I needed three yards. I think I actually could have done with two and a half but felt safer going with three.
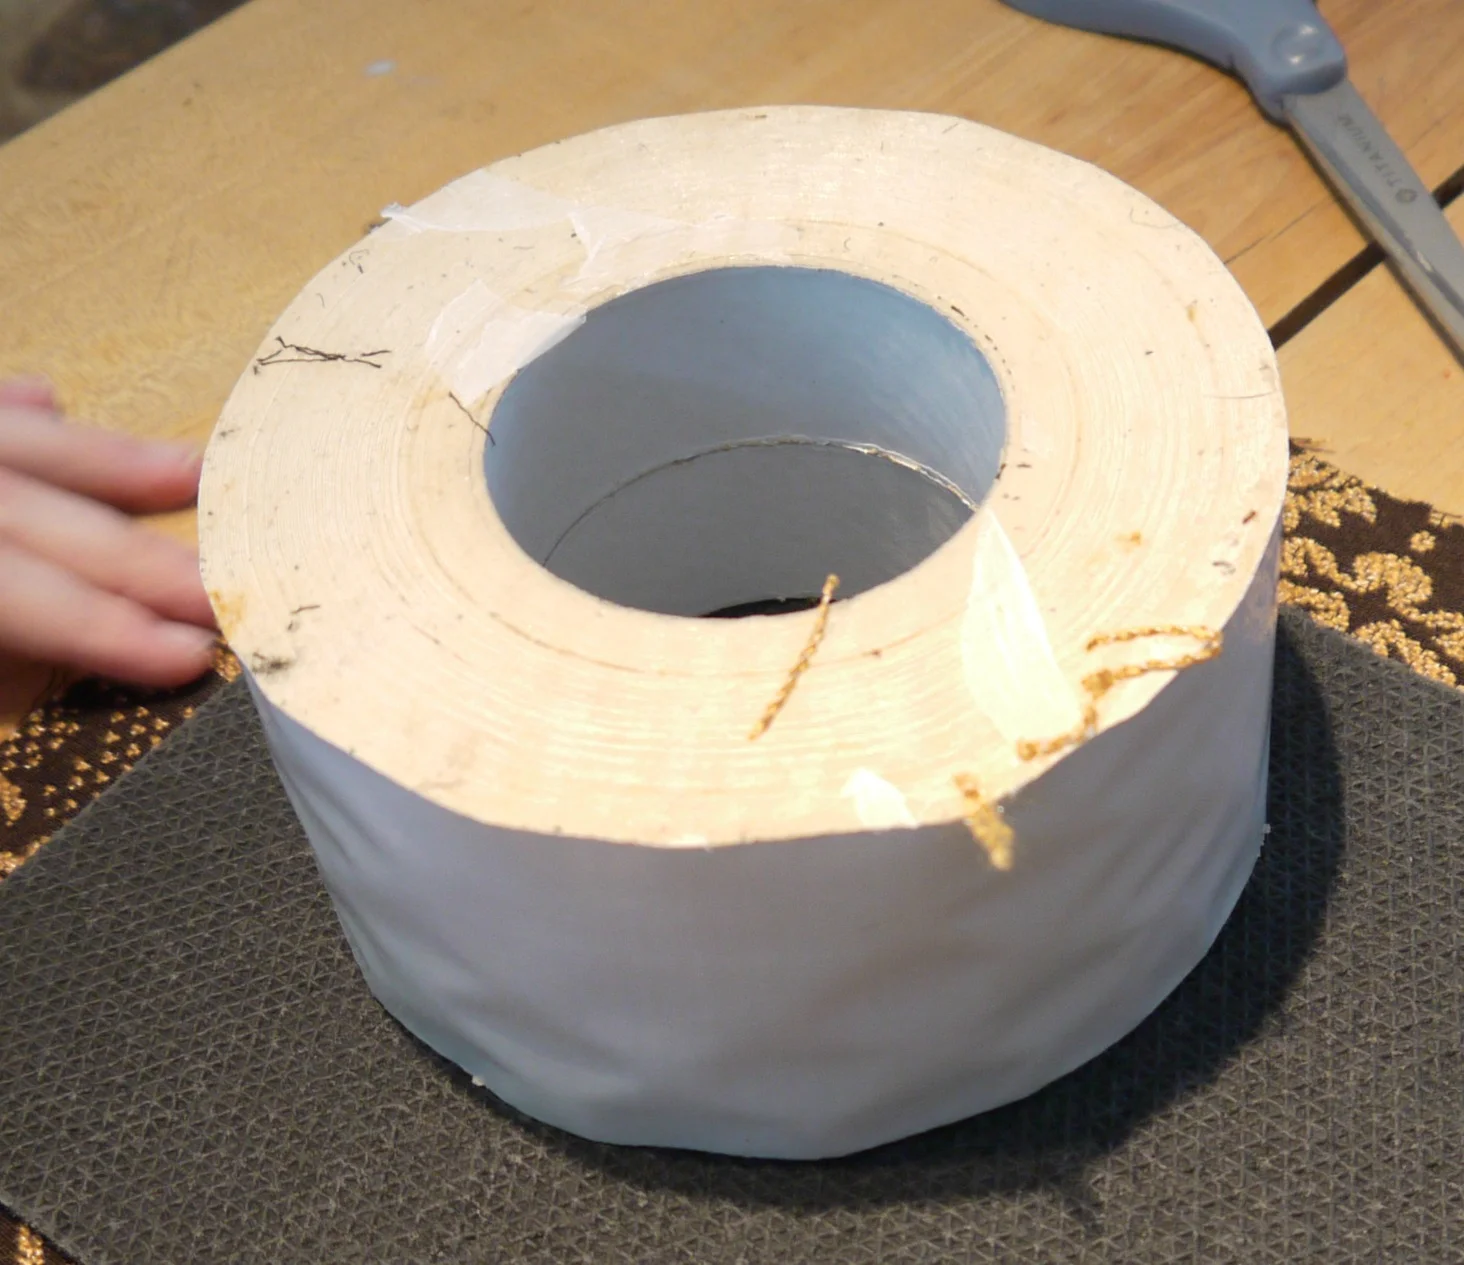
We then had to figure out a way to adhere the upholstery fabric to the rubber backed carpet pieces. In looking around the store my daughter and I found two things, glue and tape...crazy strong tape. I don't know what the tape is used for but the stickiness of it makes duct tape seem like a wimp. Sorry duct tape, I still love you and was going to use you if I had not come across your bigger, stronger, super hero cousin. I know someone will ask but I have no idea what this tape is. Mardens is a salvage store, this role had no packaging and looked just like this when we bought it. But it was huge and the price was right at $3.49.
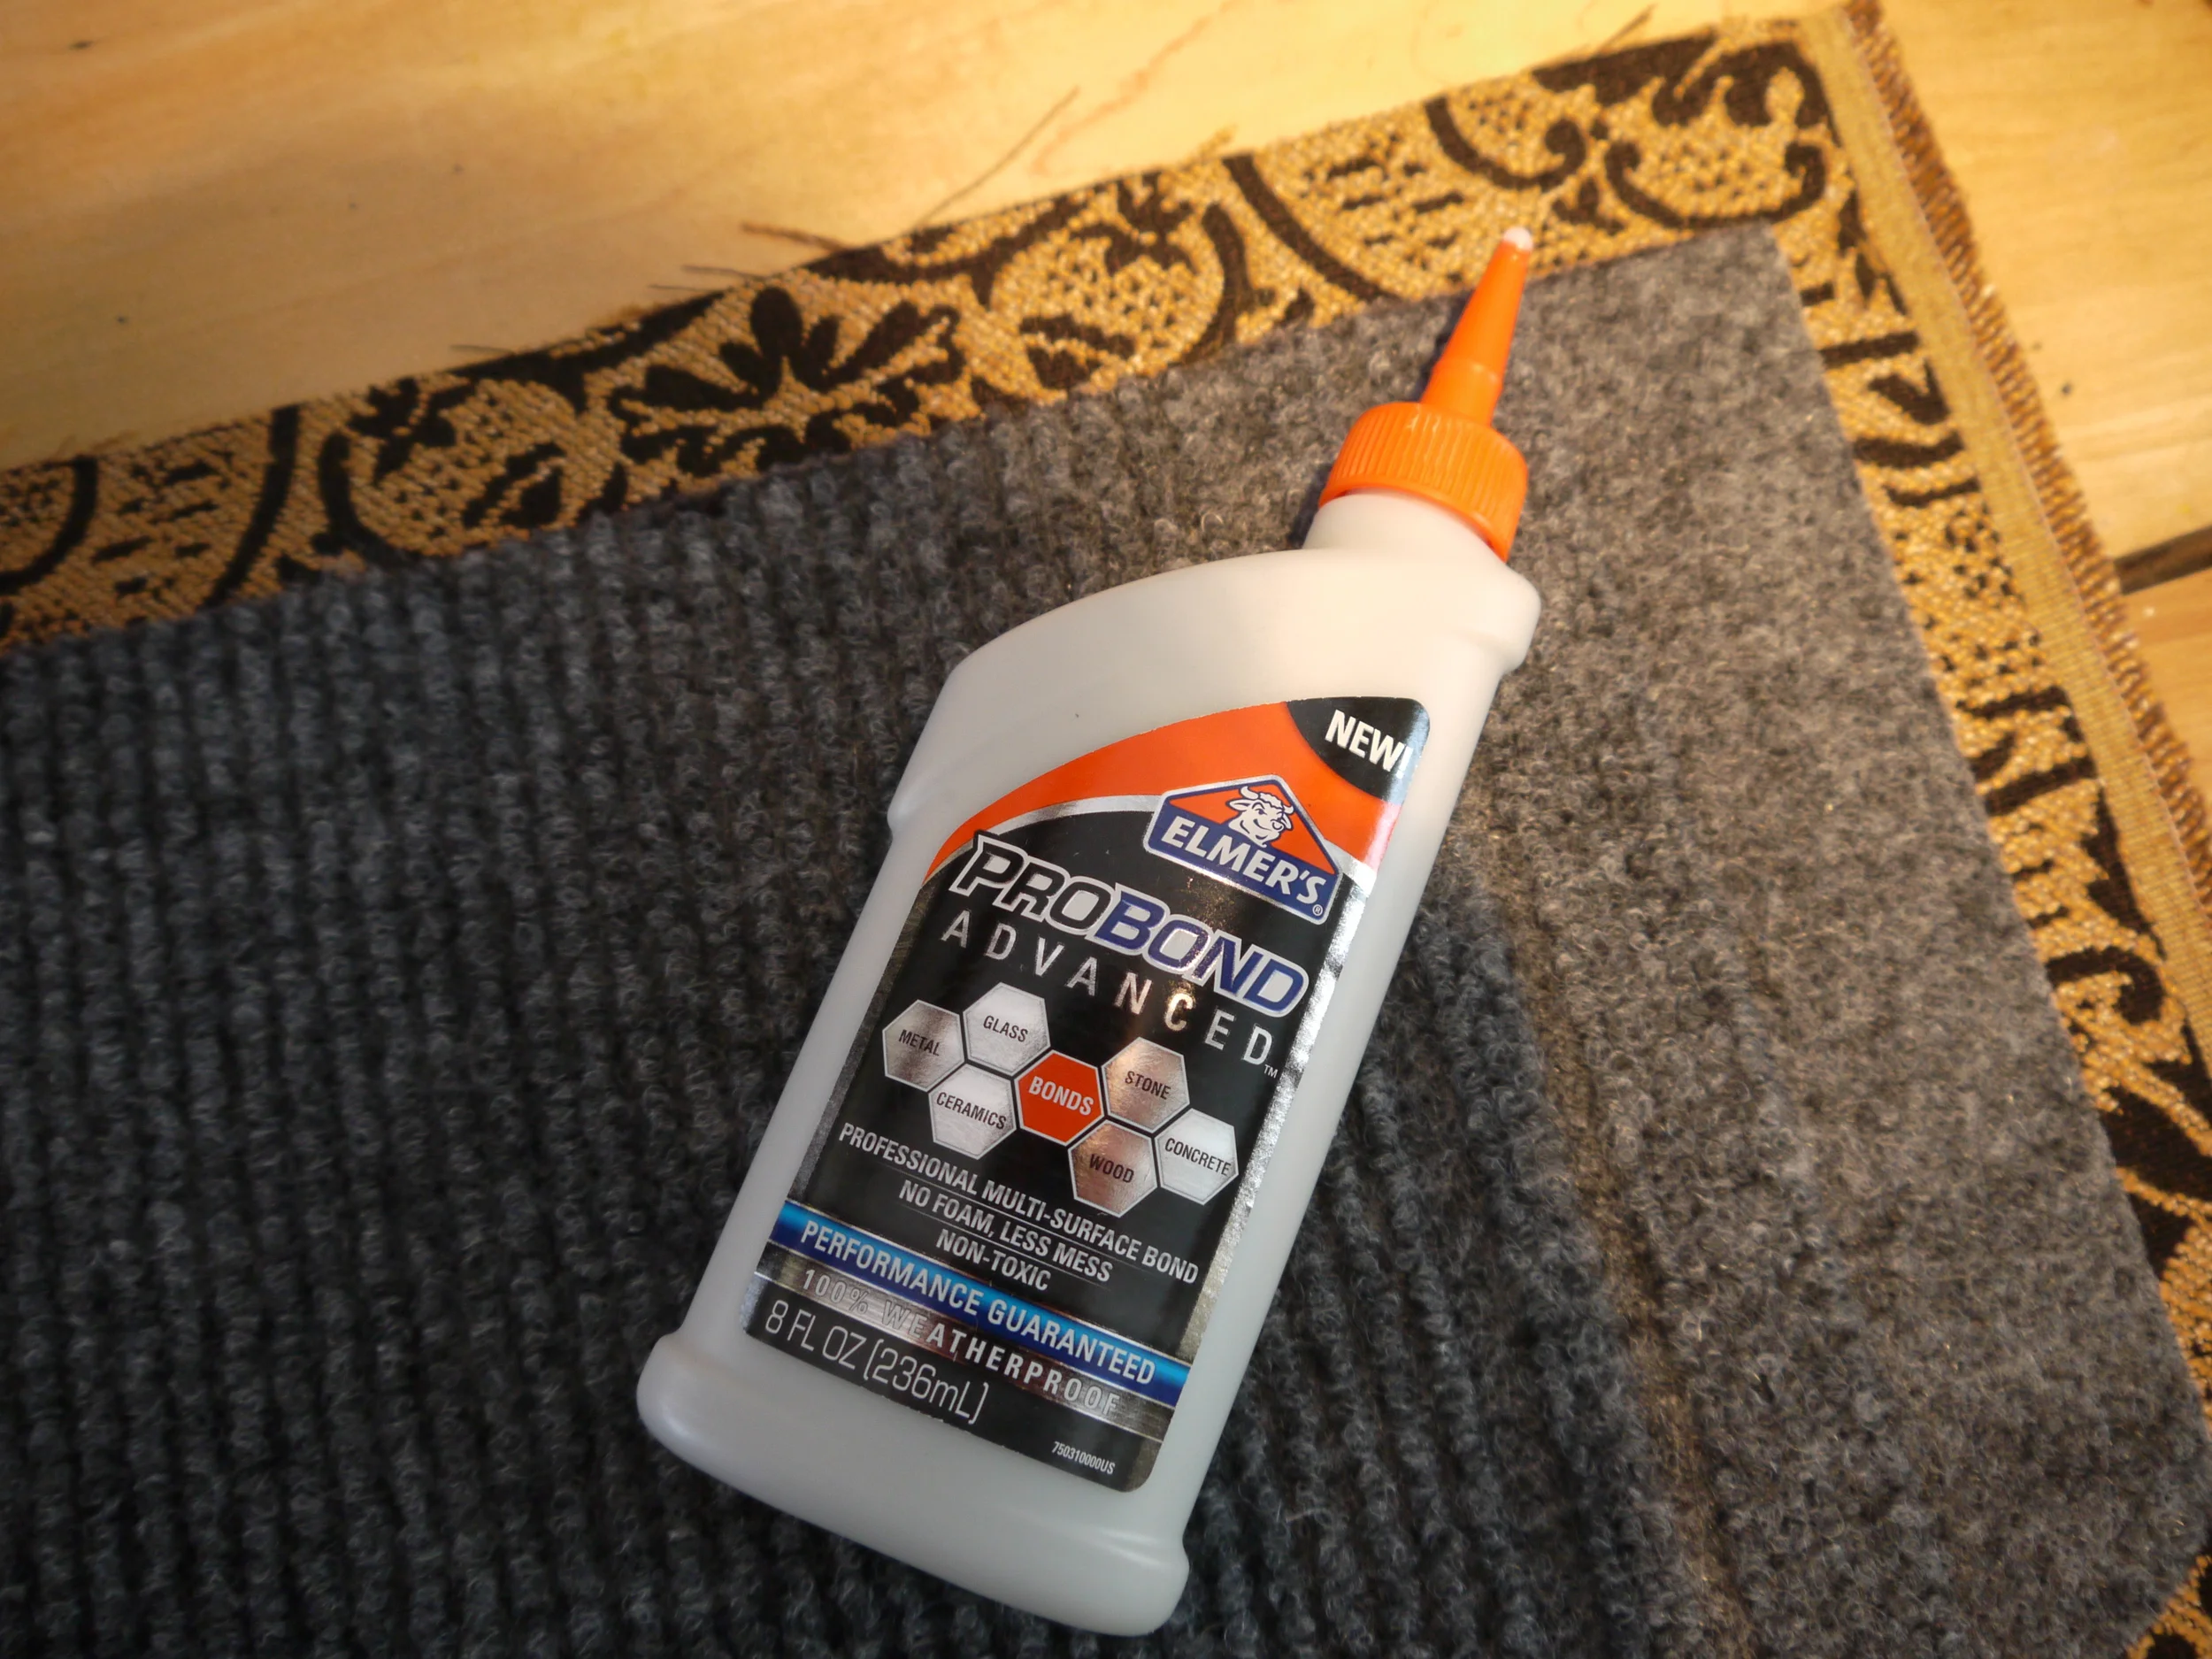
We purchased two bottles of this glue which said it worked on fabric at $5.99 per bottle, it was not enough glue. We ended up running to the hardware store which of course did not carry it, so we purchased a bottle of Weldbond which also said it worked on fabric. It also was $5.99 per bottle.
First we cut all the carpet pieces we had in half. We then cut fabric pieces for each piece of rubber backed carpet. You'll need to cut your fabric just a bit larger than your carpet piece on each side. I didn't measure but I'd say it was about an inch or so on each side. If you decide to use this technique to make your own, you may need to center the fabric, it will depend on the overall print you choose. If possible, I would suggest choosing a fabric where centering the design will not matter. It will just be easier all around and will probably save you money as you won't have to figure on getting the repeat in the pattern right when you measure for fabric. I chose to center my fabric left to right but not front to back.
We spread glue all over the top (the carpeted side) of the carpet pieces
We spread out the glue.
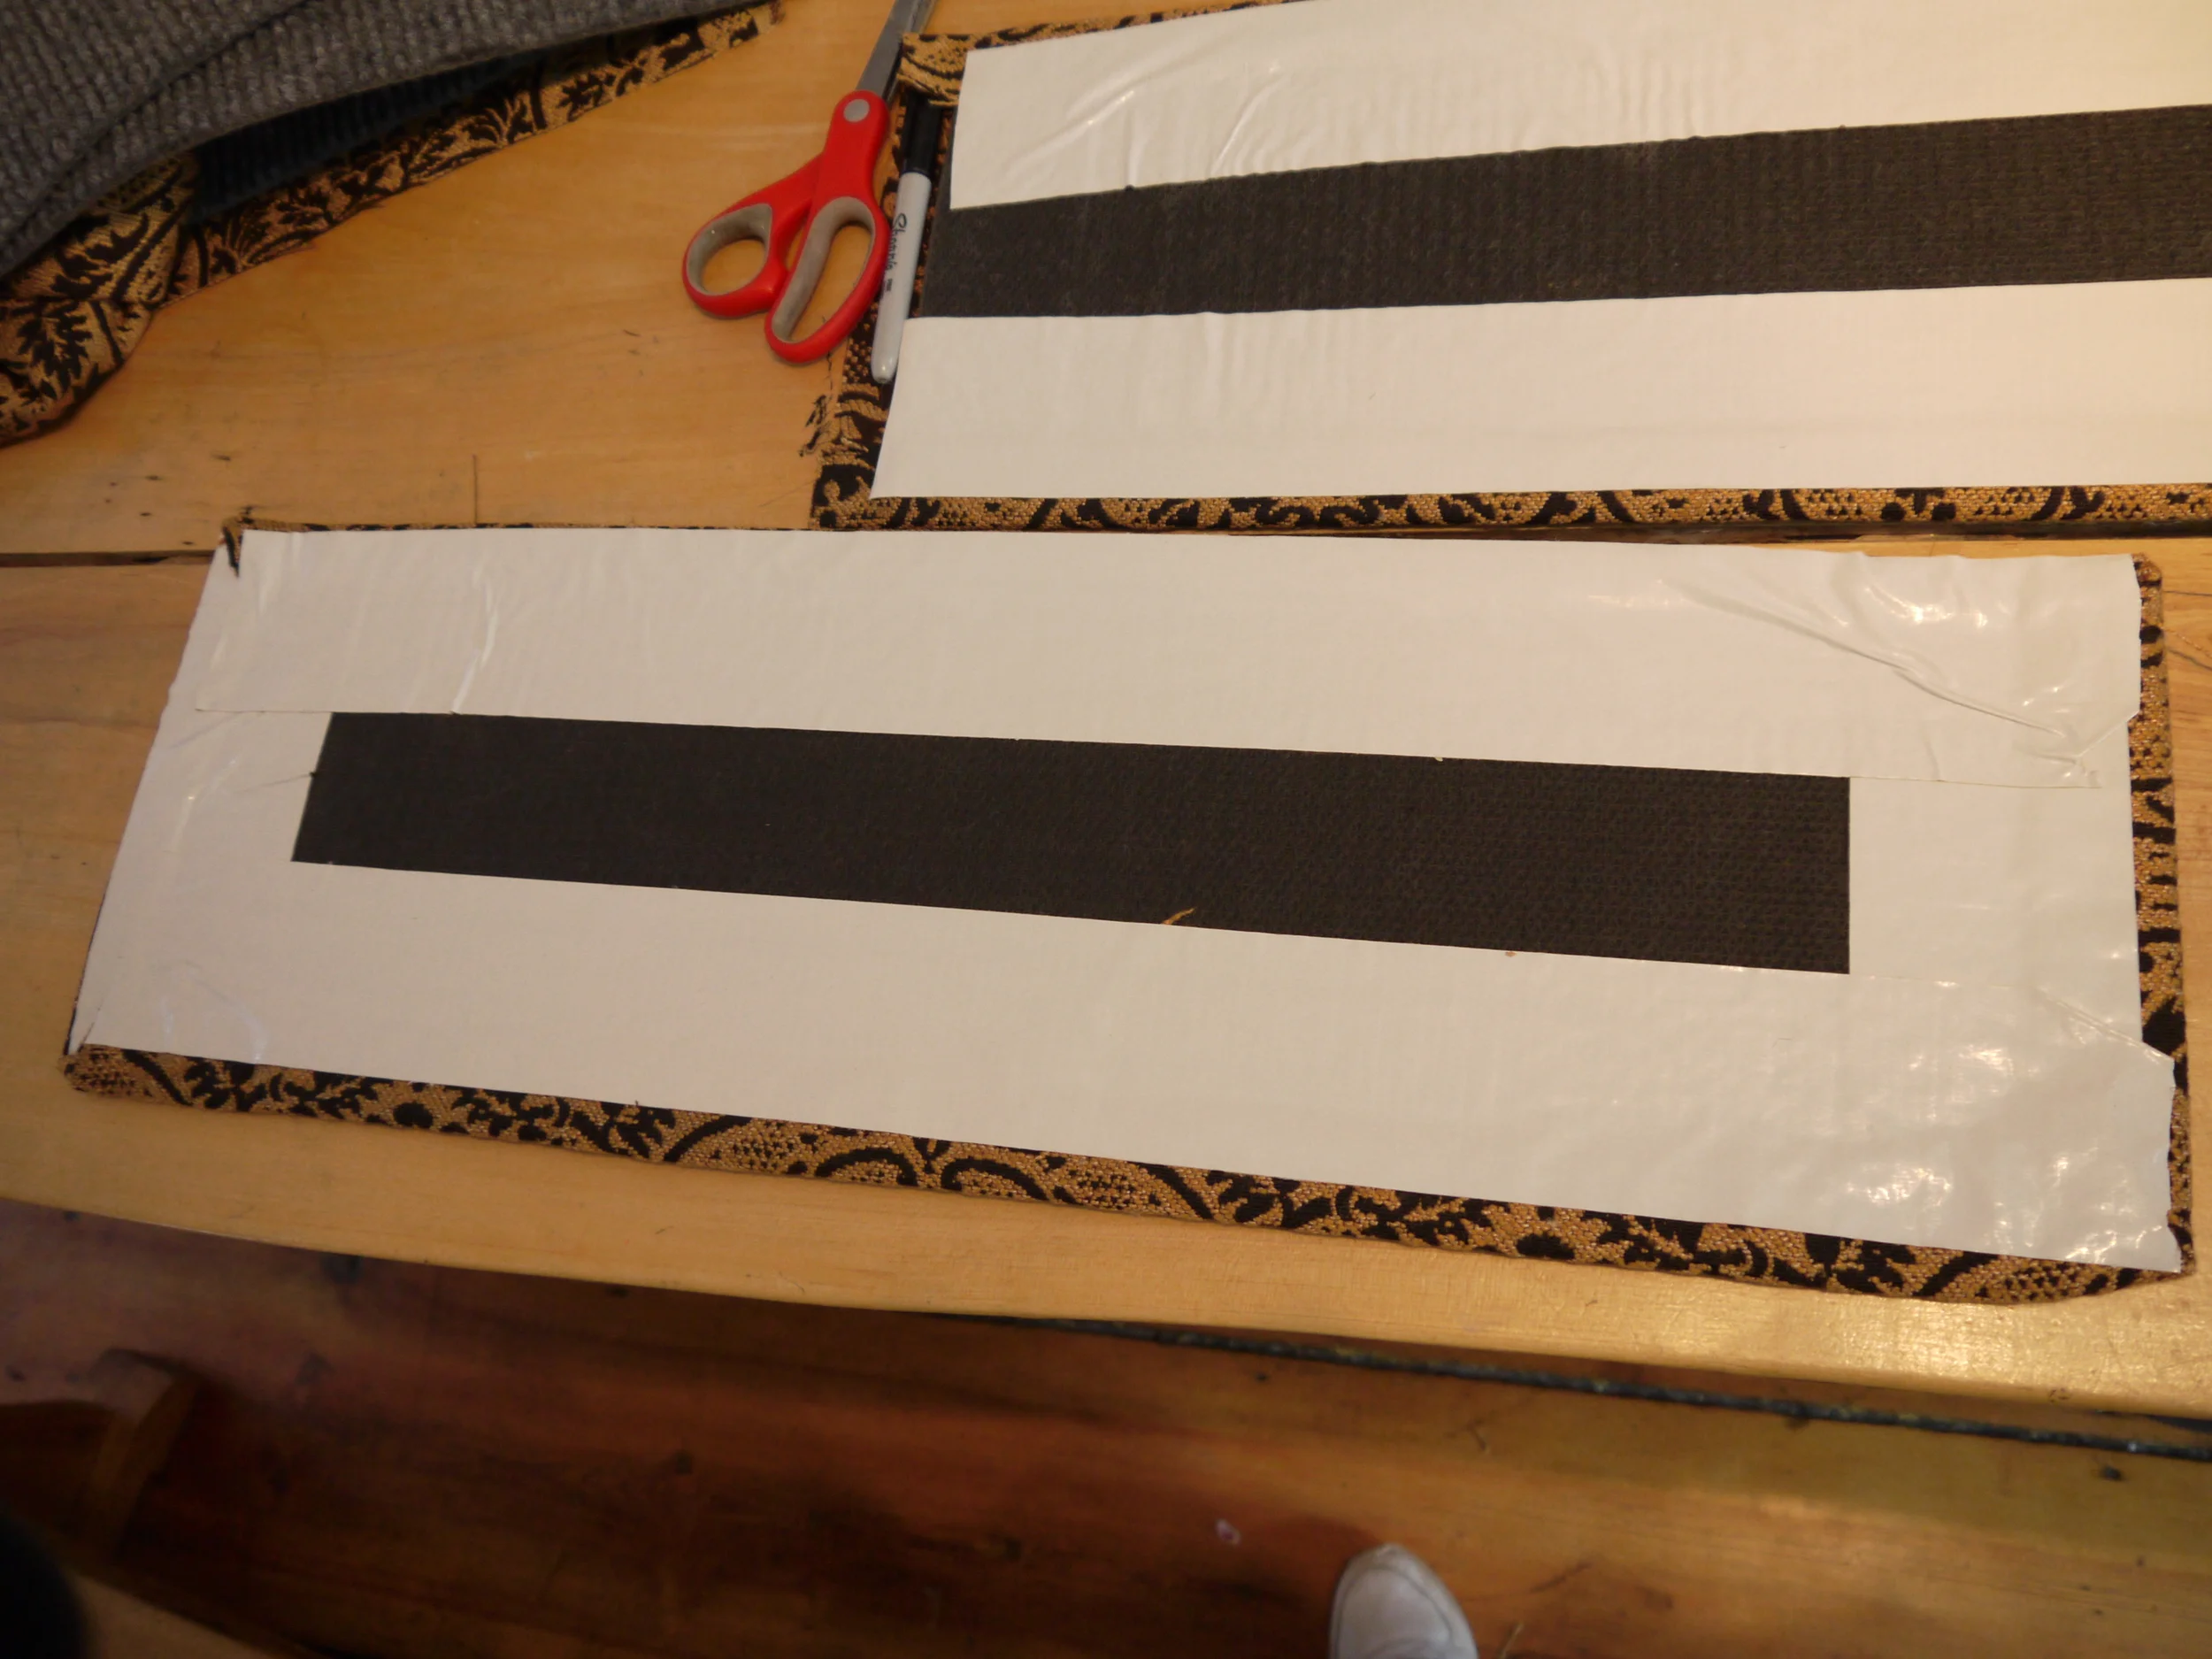
We then flipped the carpet over so the glue side was down on the backside of the fabric. Then we cut a piece of tape the length of the long side of the carpet square. Unrolling the tape proved to be the most challenging aspect of this entire project. The tape was so sticky it took tons of strength just to unroll it.
We then gently lifted up the fabric and placed it down on the tape so the tape was just about but not quite up to the edge of the carpet piece. After we pressed on the fabric a bit to make sure it was sticking to the tape (like there was any doubt of that!), we folded it over the back side of the carpet square and pressed down to stick it. (I hope that makes sense...see the picture)
We did the same on each side. Oh, I almost forgot, we did run a bead of glue down the edge of each side right before folding the fabric and tape over the back.
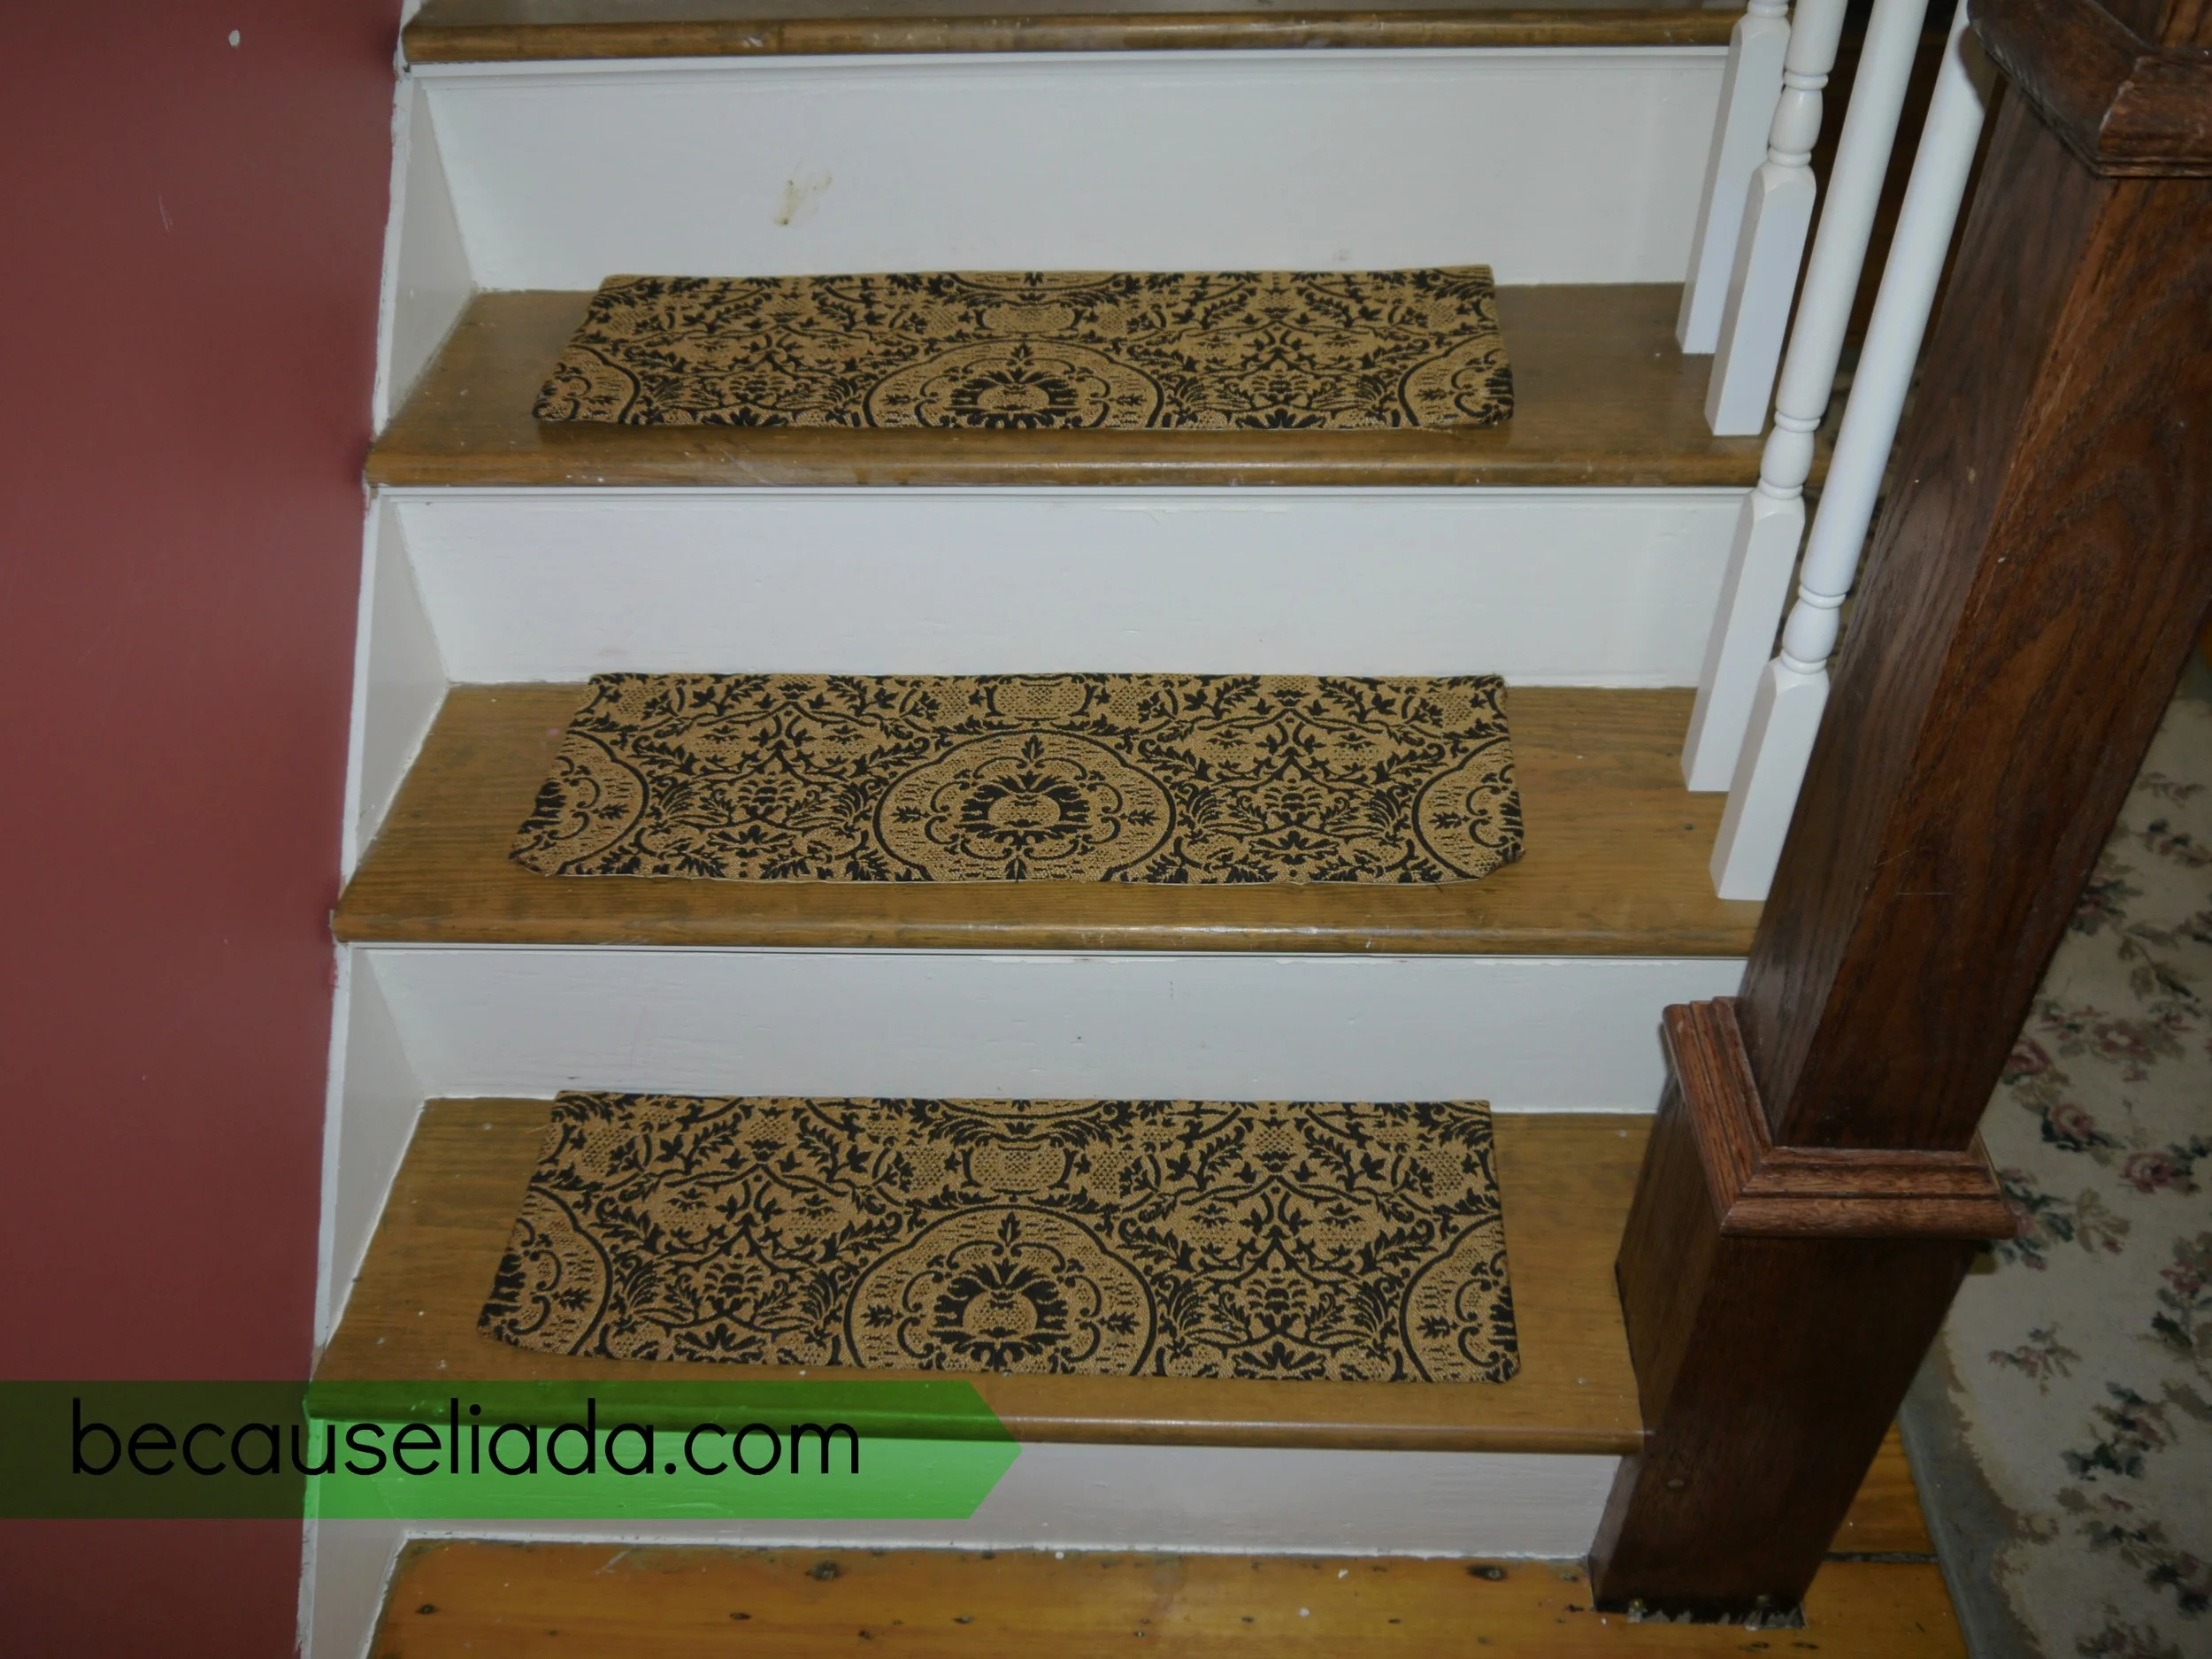
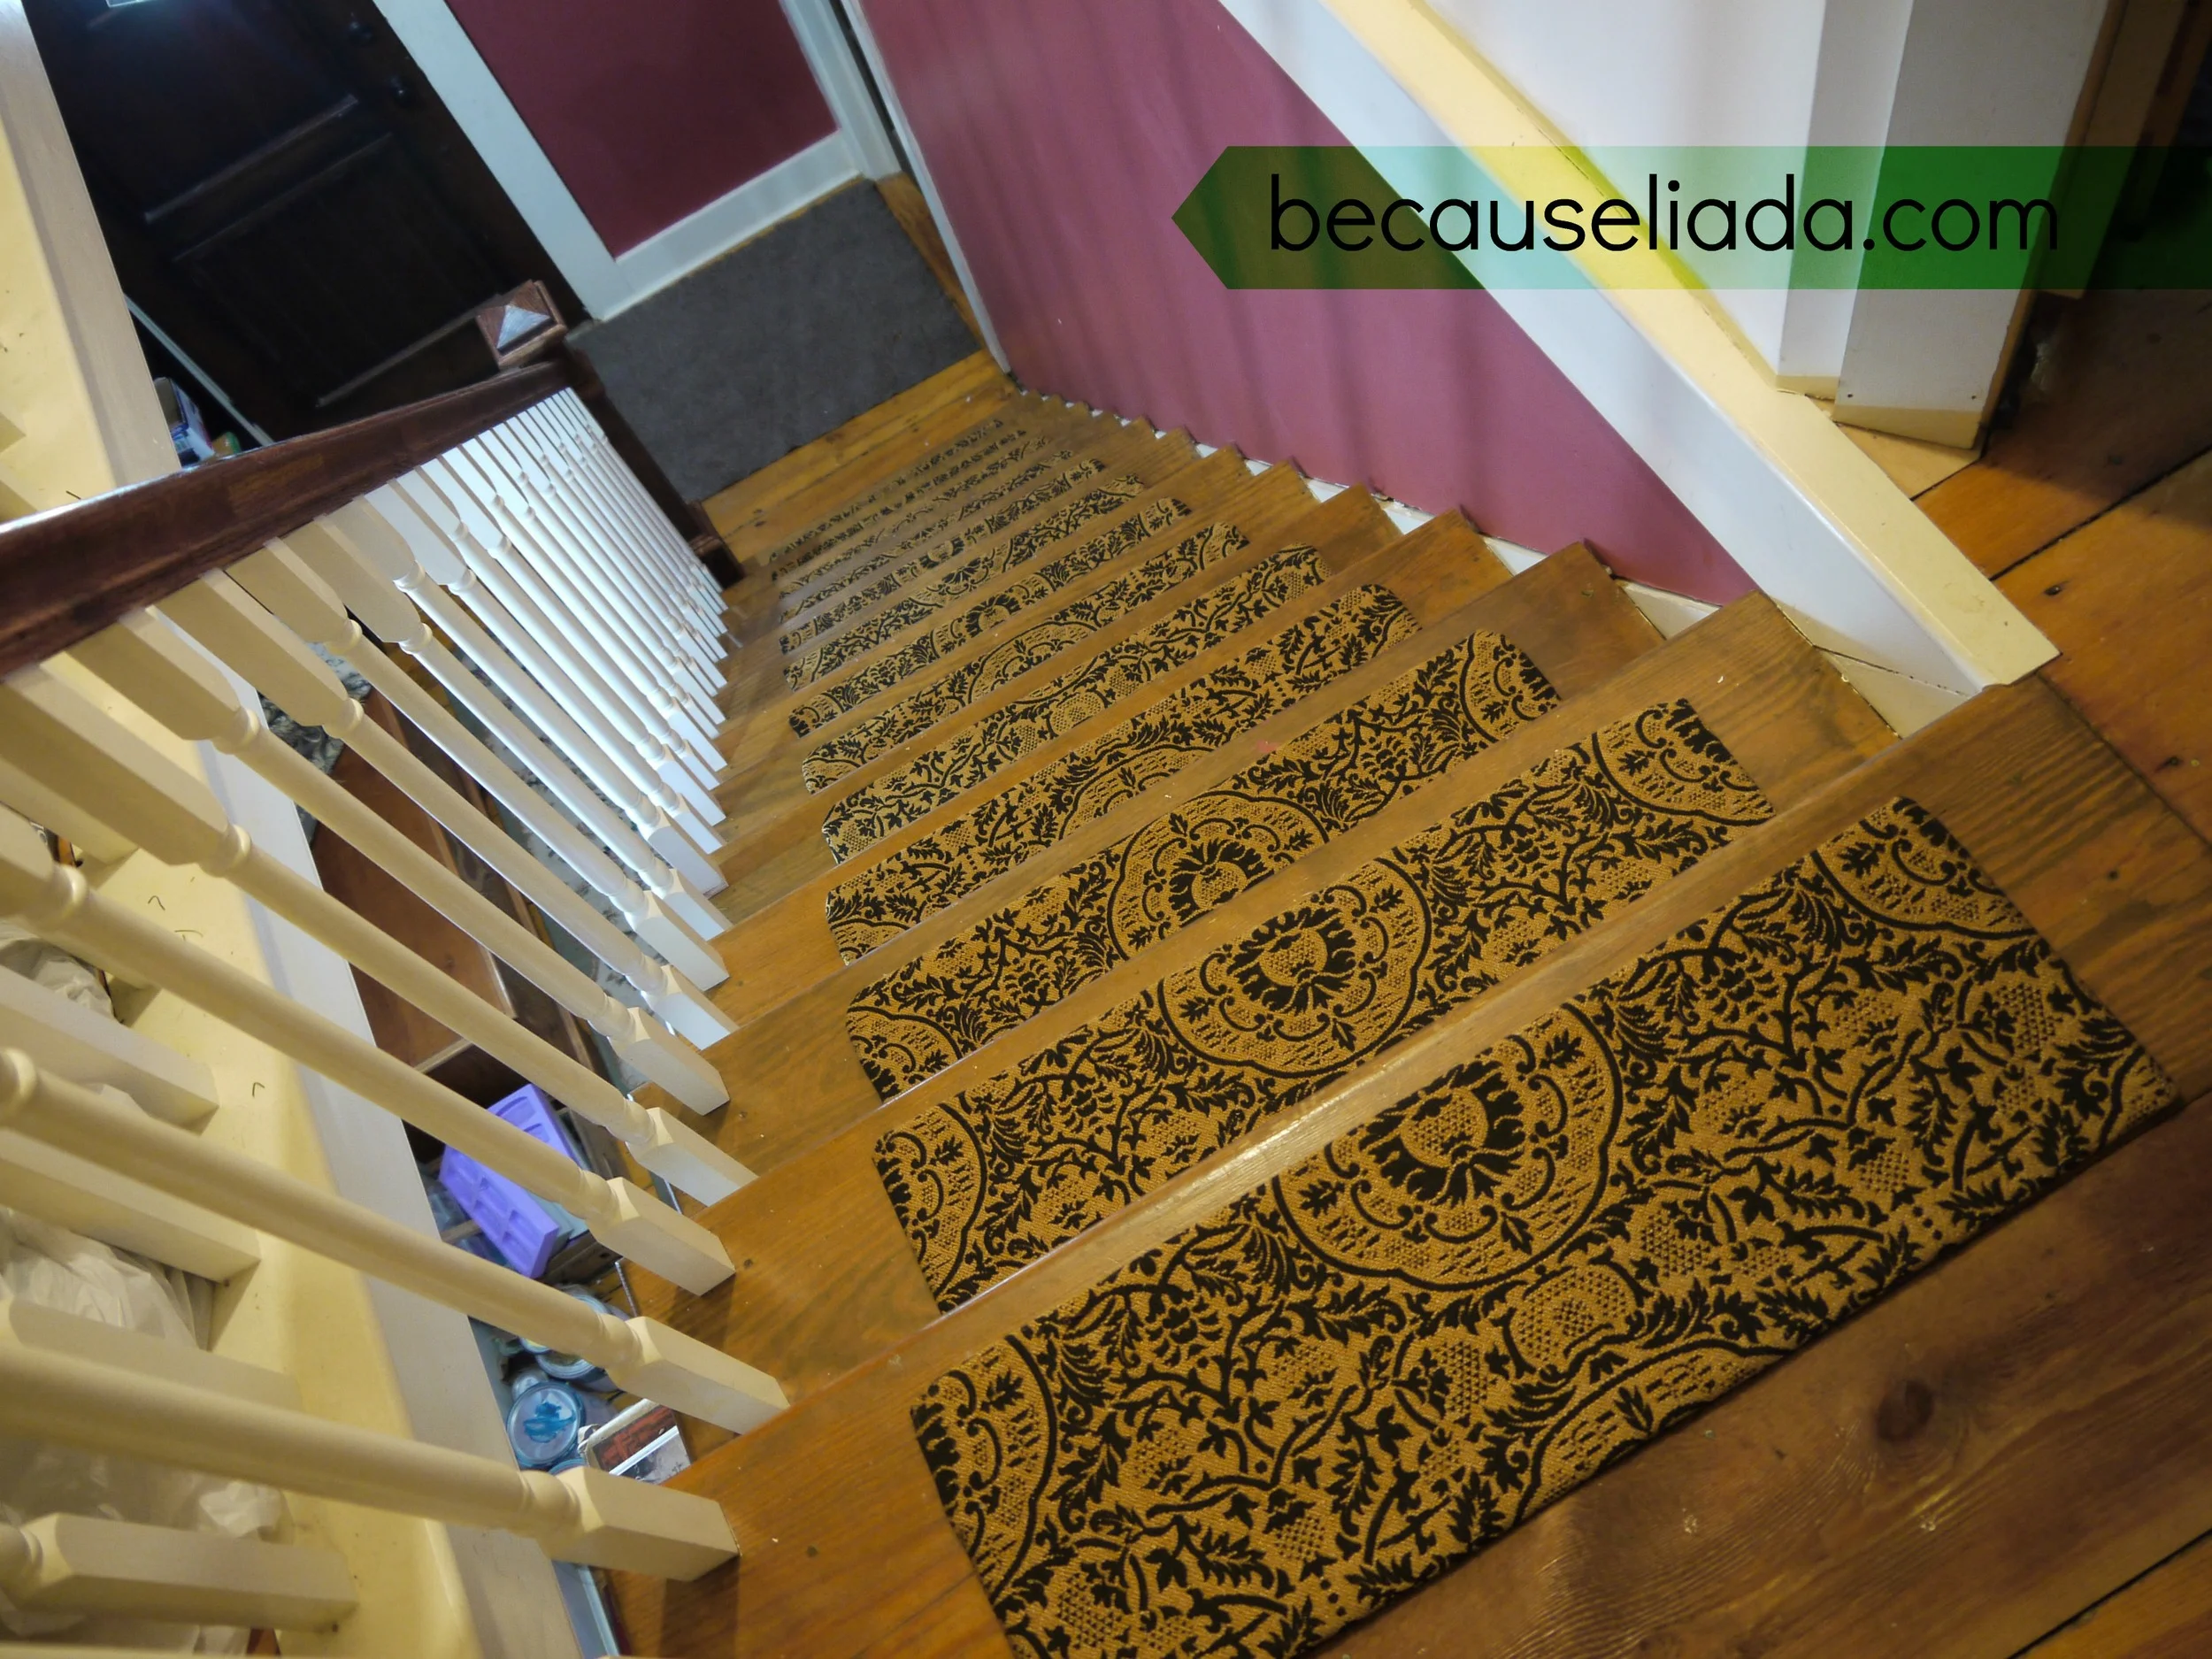
That's basically it. For each step repeat the same process. To attach these to the stair treads we used Scotch indoor carpet tape. We ran it down each short end, in the center and along the front edge.
This is what the set looks like on the stairs.
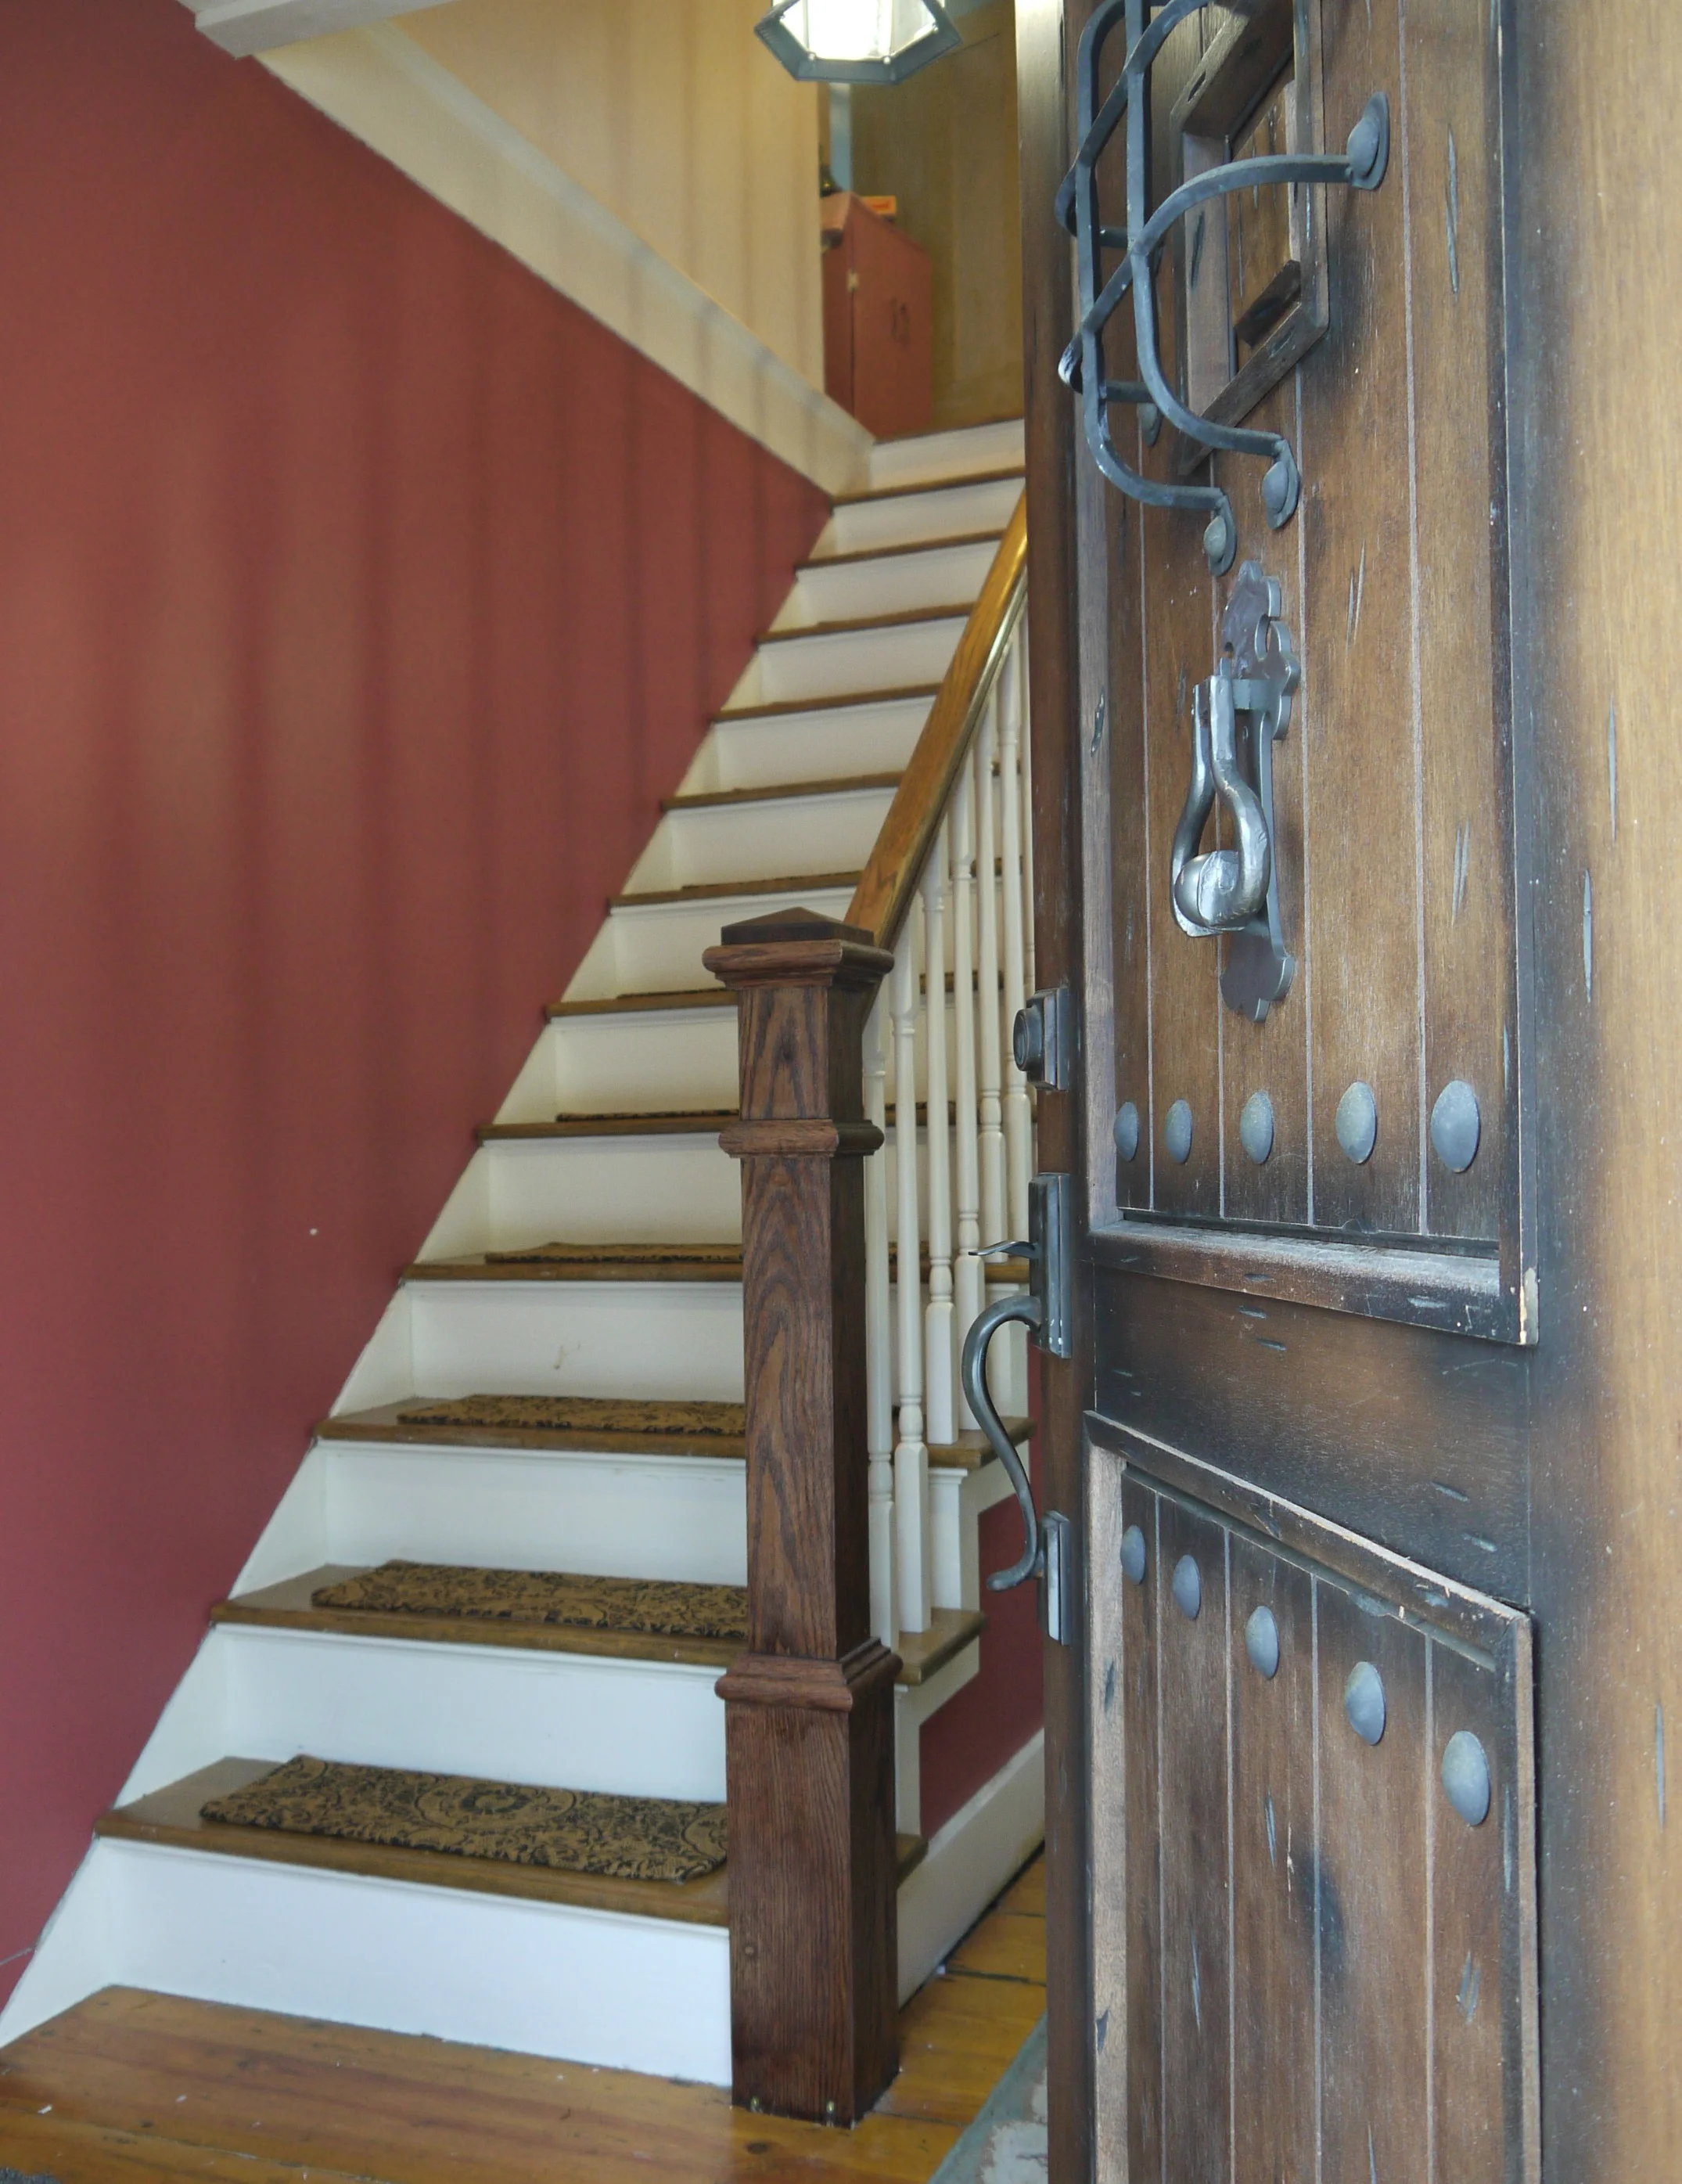
There are still a few details to take care of in the front hall but it's come a long way from what it looked like the day we bought it which was this
- So here are my suggestions if you should decide to make your own carpet stair treads.
- Make sure the fabric you choose to use is a sturdy, heavy duty fabric such as an upholstery fabric. It also should be think enough that the glue won't ooze through because that would make a hard stiff top on your DIY carpet stair treads, and that would feel awful if you were barefoot.
- Use a sticky tape like duct tape
- Use plenty of glue.
Over all this project took my daughter and I two and a half hours. Here is a break down of what we spent.
- Fabric $14.97
- Glue $17.97
- Carpet pieces $7.00
- Tape $3.49
- Carpet Tape $3.50
- Total: $46.93 I think we may have been able to do this for a bit less if we had shopped around for a larger bottle or different glue. But overall I'm happy to not have spent a few hundred. Another thing which I considered using and you may want to try is, to use burlap to cover the carpet pieces and then use some geometric shape and acrylic paints to put maybe stars or stripes or some other design on the pieces.
Let me know if you try this project. I'd love to see pictures.
Blessings,
Shelley
UPDATE:
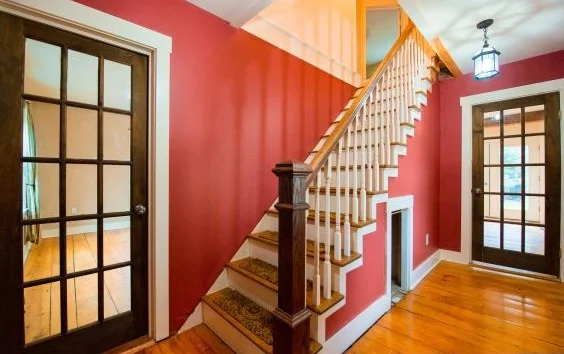
I have had soooo many questions asked about these carpeted stairtreads so I thought I would add an update. Just over a year after I made these, we sold the house. So, unfortunately I can't tell you much beyond 1 years wear. However, I can tell you how they held up through that year with a family of 6 and 3 large dogs. They held up AMAZINGLY well! I did not think to take a photograph of them before we moved. However, I do have the realtor photo. Unfortunately it isn't the clearest photo for zooming in. But I can tell you they looked good enough that I didn't feel a need to do anything with them except vacuum in order to show and sell the house, I think they made the front hall look very pretty. The realtor photo is below. To answer some of the specific questions I have been asked:
- No I did not use scotchguard. I used an upholstery grade fabric to make them and it may or may not have had it already...I don't know.
- No, the fabric did not pull up when I vacuumed, they just stayed put. Others who make these may have a different experience than I did however as I can think of a couple things which may or may not change the outcome (type of fabric used, how well it is glued down, type of glue used, type of rug being covered).
- No my vacuum did not pull up the threads. Again, I can imagine some people having a different experience based on the chosen fabric. If you decide to make these, make sure your fabric is not made up of many "threads" being sewn down onto another piece of fabric. Many chenile type fabrics are made this way, they appear durable but they are not.
- They stayed in place perfectly! That carpet tape stuff is pretty great stuff. In the year we used them, I didn't have to redo the tape on any of them.
- Yes, I would make them again and may possibly do so in my new home.
