DIY Valentine Cards

diy valentine cards

Valentine's Day will be here before you know it. I'm sure you've seen the aisles at the stores filling up with all the pretty red and pink Valentine's Day decor and goodies for the kiddos to give to their friends. Let me start by saying, I know those little valentines which are sold in all the stores are very inexpensive. Some of you may be thinking you can't be bothered making something when you can get those for about a buck. However, if you are looking for something a bit more creative this year, and with a touch of recycling thrown in, this may be just what you are looking for.

diy valentines

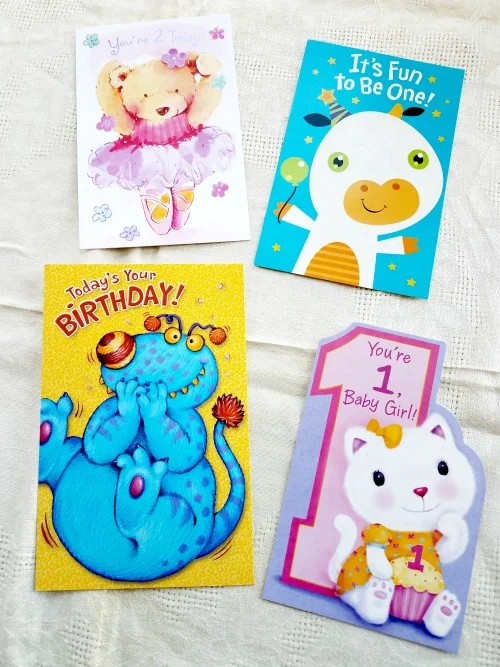
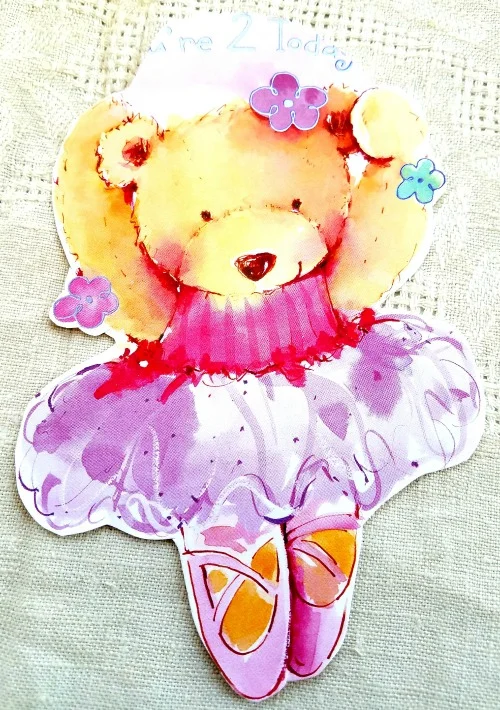
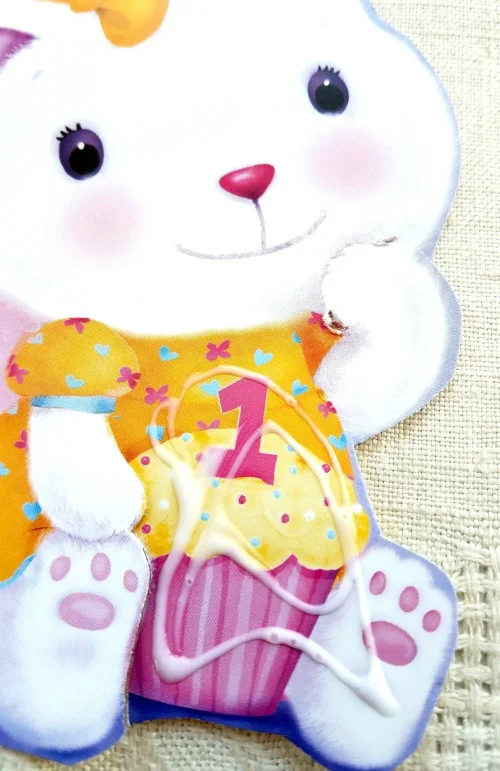
I use old greeting cards regularly for various creative purposes and always end up with a stack leftover, you know the ones with the big cute critter or creature on the front. They are adorable but limited as far as creative purposes go. 

If you do not have little children at home, you may not have many of these cards coming into your house. But if word gets out that you are seeking old greeting cards for creating, you will get plenty passed on to you. You'll want to make sure no one wrote inside the front of the card because that's where your kiddos are going to sign their names. 

In addition to cards like these you will also need,

  • this printed PDF of hearts (also available on our freebies page)
  • colored paper if you want to make your own hearts
  • glue
  • lollipops
  • scissor (including a pair with a fine tip if you want to cut little areas out) 
  • a hand held hole punch if you have one. 

The first step is to cut out the part of the image which you want to use. Like this:


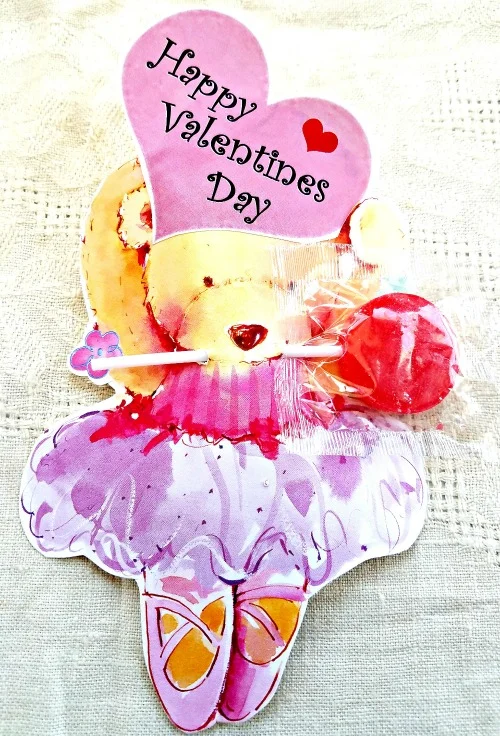
Then using an exacto knife or very sharp scissors like fingernail scissors, cut out the part of the image you want to put the heart under. Like this:

Then glue in place any hearts or other pieces you want to add. You could include little bows, glitter, gems, etc. 

diy valentines day

Carefully cut little slits in the image with your sharp scissors, then slide the lollipop in. If your hand held hole punch will reach to the location where you want the lollipop holes then you can use it for making them. You may have to put a piece of tape over the lollipop stick on the back to keep it from sliding out.

That's it, sign the back and have the kids hand them out. Easy, repurposed, DIY valentine cards for the kiddos. 


homemade valentine cards

I didn't like how this guys foot was cut off at the edge of the card so I just put the heart over it. 

Birthday Party Fun

Today we celebrated my daughters birthday. She wanted to have some friends over for tea and to have fun and play some games.

We made a tea cup shaped cake for her. I started by baking a chocolate cake (it was actually a recipe and a half) in a pie plate and in a stainless steel bowl which were well greased and floured. This is what it looked like just as I was beginning to frost the two pieces.

P1060611.JPG

If you've never done a shaped cake before, it's very simple, it's more about the illusion than for the cake to look exactly like the item.  I know my cake has a hollow in the center in the top where the cake settled a bit, but we have a plan for that.

You'll need to put on at least two coats of frosting. The first coat is a crumb coat and seals in any crumbs so don't worry if it doesn't look great after the first coat. After you put on the second coat, you need to let the cake sit awhile so the frosting firms up so you can smooth it out. Here's the cake after the first coat of frosting. (If you usually use canned frosting, I do not know if that will firm up like it should to smooth it out. I use homemade frosting for this.)

P1060617.JPG

After you get the second coat on, take a piece of wax paper gently rub the frosting with your finger through the wax paper to smooth the frosting. If the frosting sticks to the wax paper, you have not let the cake sit long enough. Smooth the frosting out to as smooth a texture as you desire. 

For my frosting, I use paste food colorings, they give great color and last forever. It is very convenient to store them in an egg carton. 

P1060615.JPG

Here's the finished cake.  My daughter had asked me if we could make it look like it had hot chocolate in it so I figured the marshmallows was a perfect solution to the hollow in the center. I made the handle out of card stock. It actually could have used another coat of frosting to cover some areas a bit more but I figured the flowers would hide or at least distract from that.

P1060626.JPG

Then it was time for some dress up fun.  My girls had hauled down a mountain of their dress up stuff. The girls had a blast, they were all so cute. 

dress up 2.jpg
dress up 3.jpg

Then it was time for some games.   Now what you are about to see is quite possibly the most ridiculous game known to man and there is not anyone who plays it who can escape looking stupid...so just get over it and have fun.

This is a game my mother use to have us play at my birthday parties when I was a child, and we loved it. I have used this game with both children and adults and I have used at a townwide harvest event and it was well received. So if you are looking for something new and silly, give this a try. First, you tie some curling ribbon or twine around the victims, I mean the participants, waist. Then you tie a piece hanging down in the back kind of like a tail. At the end of the piece of twine, tie on a carrot. Have each player squat over a jar, I used wide mouth canning jars but smaller mouth jars are more challenging. Each player must squat down and try to be the first to get their carrot in the jar....pure silliness, guaranteed laughs. If you want to add more challenge to this: give the carrot a good swing just as you say "go". The higher up you tie the carrot, the more challenging, but don't tie it up so high that they can't see it if they look through their legs or twist to the side. Like I said, you can't escape looking silly playing this game. 

P1060719.JPG
P1060723.JPG

Then a game outside...the kids played an apple relay race where they had to carry an apple under their chins and when they passed the apple, they could not use their hands.   

relay.jpg
passing the apple.jpg

My daughter and her friends had a wonderful time on this perfect fall day. Thank you Lord for good friends and good times.